Secure Client Uploads: How to Set Up a Safe Intake
Secure Client Uploads: How to Set Up a Safe Intake

Secure client uploads come down to four decisions: who can send, where files land, what happens before anyone opens them, and who can see them afterward. Get those four right and email attachments, personal cloud folders and shared passwords stop being your intake process. This guide walks through each decision, with the rules security guidance recommends and a setup you can run in an afternoon.
TL;DR
- Use a dedicated upload link for each project or request. Give it permission to add files only, never to browse, edit or delete.
- Treat every incoming file as untrusted until it has been type-checked and scanned, and keep it separate from your working files.
- Tell clients the accepted formats, size limits and naming rules before they upload, so you do not clean up afterward.
- Route every upload into a project folder with versioning, so a second upload becomes version two and never overwrites version one.
- Check where your clients live. Personal data moving across borders can bring its own rules.
Table of Contents
- Why email attachments fail as a client intake
- The principle behind a safe upload link
- How to create a secure upload link
- What should happen to files after they land
- What to tell clients before they upload
- Organize incoming files by project and keep every version
- Collecting client files across countries
- Our perspective
- Put it in one workspace with Posthive
- A short setup checklist
- FAQ
- Sources
Why email attachments fail as a client intake
Email was built for messages, not for receiving 4 GB camera originals from someone you met last week. Attachments hit size caps, land in individual inboxes, and leave no shared record of who sent what. When a producer is out sick, the files go with them.
The security problem is bigger than convenience. Anything a stranger can send you is untrusted content. SAP’s security guidance for its enterprise software treats file uploads exactly that way: encryption in transit is not enough on its own, and it calls for type validation, malware scanning, controls on active content and auditable access. An email attachment gets almost none of that by default.
For creative teams, the cost shows up in three places:
- Lost files. Footage, scripts and reference material scatter across inboxes and downloads folders.
- Version confusion. “Final_v2_REAL.mov” arrives by email while “Final_v3” sits in a chat thread.
- Exposure. A forwarded link or a mis-sent attachment shows a client’s unreleased work to the wrong person.
A proper upload intake fixes all three at once, and it is not hard to build.
The principle behind a safe upload link
NIST’s systems security engineering publication frames this well. It says secure systems should mediate access through explicit policy and default to denying anything the policy does not allow. Applied to client uploads, that is a simple rule: define who may send, what they may send and what they may do, and refuse everything else.
What that means in practice:
- A client who uploads should not be able to see other clients’ folders.
- A client who uploads should not be able to delete or replace what they sent last week.
- A reviewer who watches the cut should not automatically be able to download the masters.
A broad shared folder breaks all three. A scoped upload link keeps them intact. The upload link is the smallest permission that gets the job done.
How to create a secure upload link
The steps below work in any tool that supports request links or portals. Adapt the wording to your own platform.
1. Create one link per project, or per request
A link tied to a single project folder limits the damage if it leaks. A reusable “send us anything” link pointed at your whole drive is the opposite. If a client sends material for three projects, give them three links, or one link per project inside a single client workspace.
2. Make it add-only
The upload permission should let a person put files into one destination. It should not let them list contents, download, rename or delete. If the person needs to confirm their upload arrived, show a receipt page rather than the folder contents.
3. Identify the sender
Anonymous links are convenient but leave you guessing who uploaded a suspicious file. Ask for a name and email on the upload form, or send the link to the specific person so the upload is tied to them. This also gives you an audit trail, which SAP’s guidance lists among its recommended controls.
4. Set limits you can defend
OWASP’s Application Security Verification Standard recommends enforcing file-size limits and a maximum number of files per user, and validating the file’s actual content type rather than trusting its extension. A video team will set higher caps than a legal office, but the principle holds: unbounded uploads invite abuse and runaway storage.
5. Keep the link’s lifespan short
A link for a one-week shoot handoff does not need to work next year. Set it to expire when the delivery window closes, and issue a new one if the client needs to send more. Revoking a link should be a one-click action you can perform without opening a ticket.
6. Decide on a second factor
For sensitive material such as unreleased footage, contracts or personal data, add a password or email verification, and send the password through a different channel than the link. A link and password in the same email protect nothing if the email is read by the wrong person.
What should happen to files after they land
The upload is only half the work. What happens in the minutes after a file arrives decides whether your workspace stays clean.
Keep incoming files apart from working files
OWASP’s guidance says untrusted uploads should be stored outside the web root with limited permissions and scanned by antivirus before they are served. Microsoft’s documentation for developers makes a similar point: use a dedicated upload location, preferably on a non-system drive, and do not store uploaded files in the app’s directory tree. It also says to disable execute permissions on that upload directory, so that a malicious file cannot run on the server.
You may not run your own web server, but the idea carries over to any team. A landing area for incoming files, separate from the folders editors open every day, means a bad file never sits next to your master project. We describe this pattern in more detail in our piece on client upload portals with quarantine before access.
Scan, then release
Upload-time malware scanning is the baseline. SAP’s guidance adds a useful second step: scanning again at download time adds protection when malware signatures are updated after the file was uploaded. A file that looked clean on Tuesday may not be clean on Friday.
The same guidance recommends allowlisting MIME types and blocking active content, such as JavaScript embedded in PDFs. For a post-production team, a sensible allowlist covers video containers, audio, image formats, documents and archives, and nothing executable.
Release to the people who need it
After a file clears, move it to the project folder and notify the right person. Do not give everyone on the account access by default. Our guide on media sharing permissions and chain of title covers how to keep a record of who had access to which asset, which matters when rights questions come up later.
If you want a quick way to test your setup, our media file security walkthrough is built to be run in an afternoon.
What to tell clients before they upload
Most bad uploads are not attacks. They are a 40 GB file sent to a form that accepts 2 GB, or a folder of “IMG_0042” files with no context. Clear instructions up front cut support time more than any technical control.
A good client-facing upload page states:
- Accepted formats. List them. Do not make people guess.
- Size limits. Per file and in total, plus what to do when a file is too large.
- Number of files. Say how many can go in one batch.
- Naming. Show an example.
- What happens next. Confirmation, who reviews it, and when.
Public-sector upload pages are a handy model because they must serve people of every skill level. Indiana’s benefits portal, for example, publishes concrete limits: files under 20 MB, at most 20 files at once, restricted formats and malware checks, and it shows processing statuses and upload history. The UK Legal Ombudsman’s guide lists accepted formats, explains per-file and combined limits, notes that a multi-page PDF counts as one file and says what to do when an upload is too large. Copy that structure and swap in your own numbers.
A naming convention clients can follow
GOV.UK’s publishing guidance says a good filename should be understandable out of context, written in lowercase with hyphens or underscores instead of spaces, and never a vague label. For creative work, a simple pattern does the job:
project_scene_description_date.ext
For example: brandfilm_interview-ceo_broll_2026-03-14.mov. Put that example on the upload page. If clients still send something else, rename on intake, because the original name stays recorded as metadata.
Organize incoming files by project and keep every version
A secure intake that dumps files into a flat folder only moves the mess. Decide the destination structure before you send the first link.
A workable layout:
- One workspace per client or production company.
- One project inside it for each job.
- Inside each project, folders for incoming material, working files, review cuts and final deliverables.
- A rule that nothing is overwritten. A re-upload with the same name becomes a new version.
That last rule protects you from the most common client mistake: sending a corrected file and unknowingly replacing the one your editor was already using. Version history lets you compare, roll back and show the client precisely what changed. For a deeper look at the mechanics, see our article on avoiding lost video versions, and for folder logic, how to organize media assets for faster post-production.
If your team is formalizing the whole route from client brief to finished asset, a broader content creation workflow guide can help you place the upload step in the sequence, so each handoff has an owner and a next action.
Plan for storage volume
Video projects generate huge intake. A single shoot day can produce hundreds of gigabytes. Decide in advance whether clients send proxies or originals, and where originals live. Our 4K footage storage scenarios lay out options by shoot size.

Collecting client files across countries
If clients are in different countries, uploads may contain personal data: a talent release, a contact sheet, a person identifiable on camera. The rules differ by place, and a team in the United States should not assume its habits satisfy another region’s law.
The European Data Protection Board’s guidelines on transfers between public bodies give a sense of the principles. They say appropriate safeguards may include legally binding instruments or administrative arrangements offering protection essentially equivalent to that in the EEA, and that data should not be kept indefinitely, only as long as needed for its purpose. Those guidelines address public bodies specifically, so they are not a compliance recipe for a production company. They do point to habits worth adopting everywhere:
- Know what personal data your uploads may contain.
- Set a retention period and delete or archive when it ends. Our three-copy archive checklist helps with the archive side.
- Put contract terms about data handling in place with clients in regulated regions, and ask your lawyer or data protection adviser when a project involves EU or UK residents.
Our perspective
We built Posthive on the belief that a client upload is the start of a project record, not an attachment to be forwarded around.
Most teams we talk to already know that email is a poor intake. What they lack is a place where the upload, the version, the review comments and the approval all live together. When intake sits in one tool and review in another, someone ends up copying files by hand, and that is where things go missing.
That is why we give clients ownership of their deliverables and versions inside the workspace, and why every plan includes unlimited free seats. A client should be able to upload, review and approve without anyone paying per person or passing files through a producer’s laptop. Tight permissions and an open door for collaborators are not in conflict. You scope what each person can do, then let them do it.
If you take one thing from this guide, make it this: build the intake once, as a repeatable pattern, and every new client inherits a safe process by default.
Lorenz
Put it in one workspace with Posthive
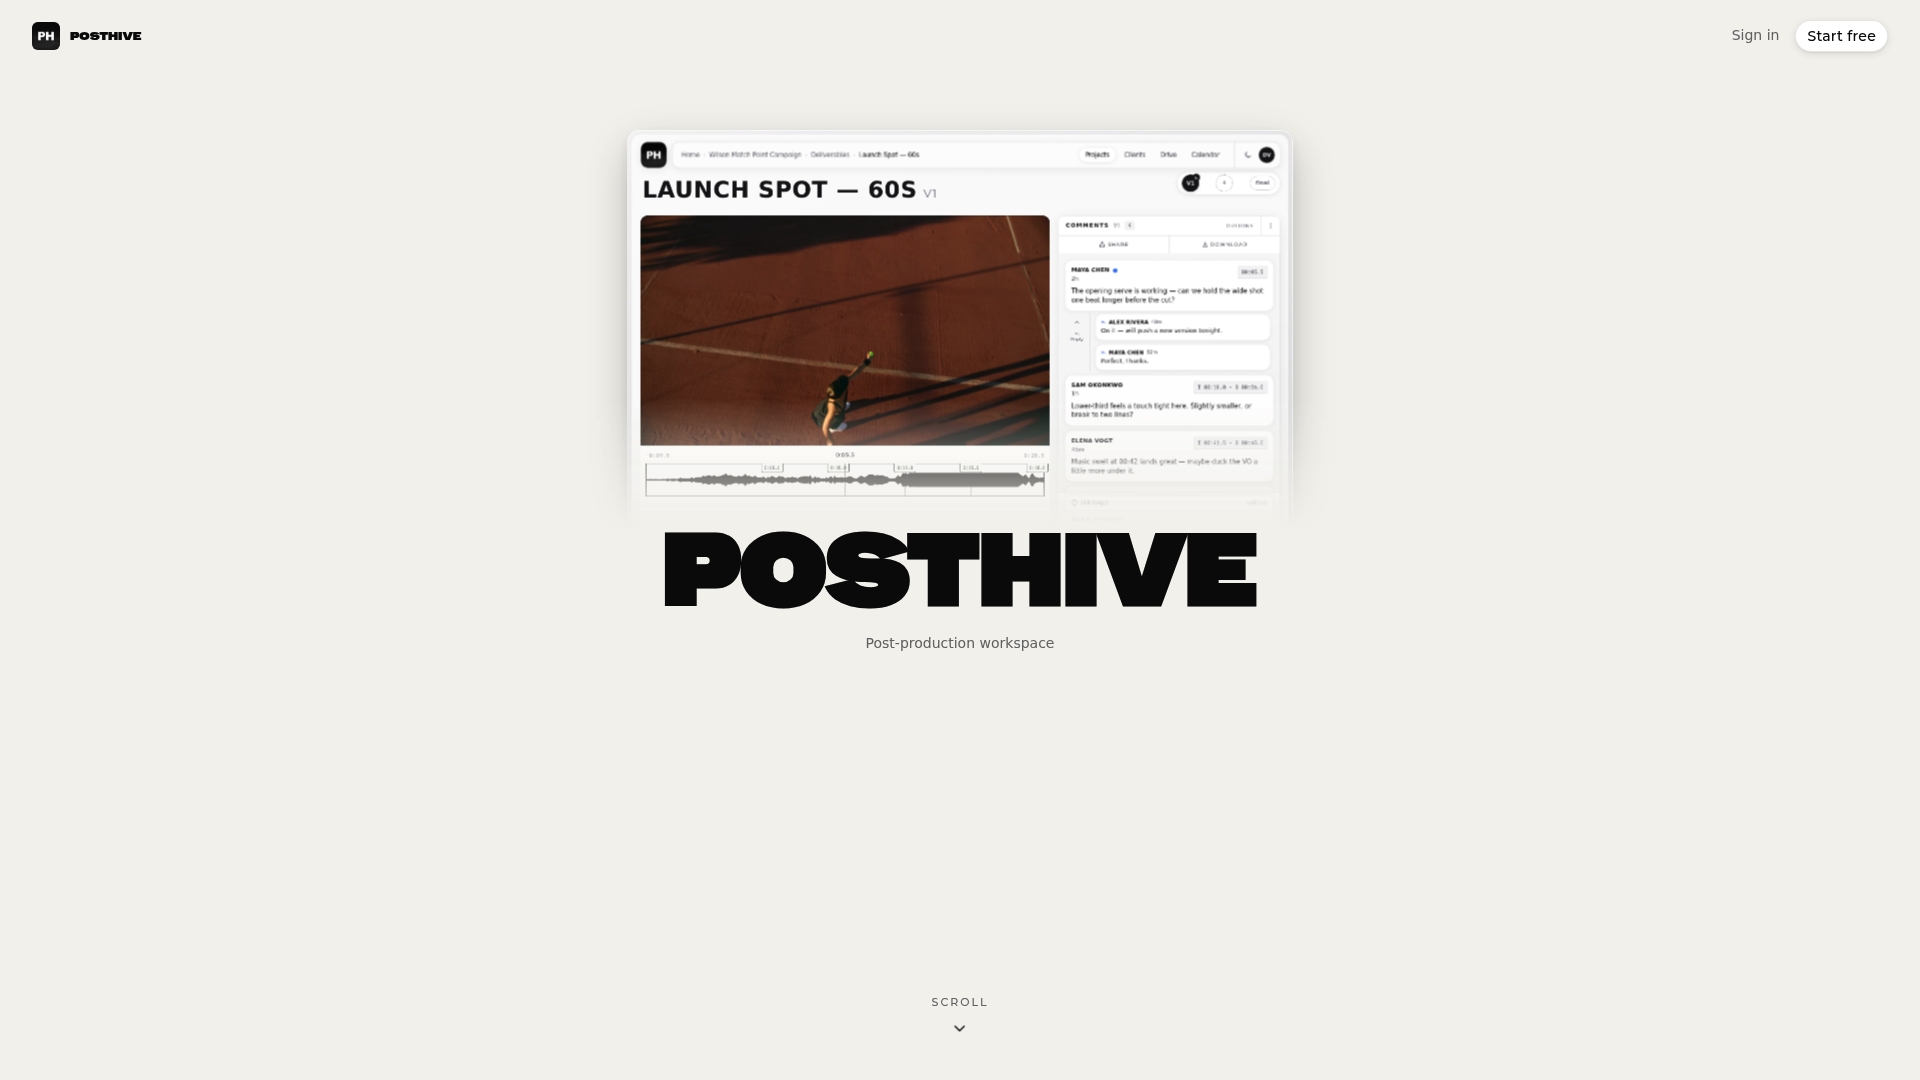
Posthive is a cloud post-production workspace that brings project management, version control, task and deadline tracking, collaborative review and secure media delivery into one place. Clients can send material into a project, and you keep versions and approvals attached to the same project record. Every plan includes unlimited free seats, so adding clients and collaborators does not raise your bill.
Plans are listed on the Posthive pricing page: Pro is $49 per month and Enterprise is $99 per month, and a free plan is available. If you want to see how a project is structured before you commit, the workspace structure overview shows how workspaces, projects and files fit together. For the delivery end of the process, see our agency content delivery checklist and the preview to master workflow for videographers.
A short setup checklist
Run through this before sending your next upload link:
- Does the link point at one project and one destination?
- Is it add-only, with no browsing, downloading or deleting?
- Do you know who uploaded each file?
- Are file size and count limits set and published to the client?
- Is the format allowlist narrow, with executables excluded?
- Do files go to a separate intake area and get scanned before release?
- Does the link expire, and can you revoke it fast?
- Does a re-upload create a new version rather than overwrite?
- Is there a record of who accessed what?
- Do you have a retention rule for personal data?
If you answer no to more than two, fix those first. The first four deliver most of the protection.
FAQ
What is a secure upload link?
It is a web address that lets a specific person send files to one destination you control, without giving them access to anything else. A well-configured link is add-only, limited in file size and count, and set to expire. It also records who used it.
Is a password enough to protect an upload link?
A password helps, but it is one layer. NIST’s approach is to define explicitly who may do what and deny the rest, so combine the password with add-only permissions, an expiry date and sender identification. Send the password separately from the link.
Why scan files that a trusted client sends?
Clients’ devices can be infected without their knowledge, and a trusted sender can forward a malicious file unwittingly. Upload-time scanning treats every file as untrusted, which is the stance both OWASP and SAP recommend. Scanning again at download catches threats identified after upload.
What file size limit should I set?
It depends on your work. A document-focused office may be fine with 20 MB, as Indiana’s benefits portal uses. Video teams need far higher limits or a chunked uploader for large files. Whatever you choose, publish it on the upload page and say what to do when a file exceeds it.
Should clients be able to see what they uploaded?
Only if you intend it. Many teams give uploaders a confirmation and a history of their own uploads, as public portals do, while keeping the full project folder hidden. Show clients their own files, not those of other contributors.
Sources
- Engineering Trustworthy Secure Systems, NIST SP 800-160 Vol. 1 Rev. 1
- Upload files in ASP.NET Core, Microsoft Learn
- OWASP ASVS 4.0.3, V12 Files and Resources
- SAP S/4HANA Security Guide
- Choose an attachment file type and file name, GOV.UK
- Indiana Benefits Portal document upload help
- Guide to uploading documents, Legal Ombudsman
- EDPB Guidelines 2/2020 on Articles 46(2)(a) and 46(3)(b)