Two Verified Copies First in a Video Backup Workflow for Small Teams
Two Verified Copies First in a Video Backup Workflow for Small Teams

A reliable video backup workflow runs on three things: the 3-2-1 rule adapted for large media files, checksum-verified ingest to at least two destinations before any card gets reformatted, and restore drills that prove the backups actually work under pressure. This is built for solo editors and small production teams, not enterprise IT departments. The first rule to internalize: nobody touches the reformat button until two verified copies exist.
TL;DR:
- Cameras should not be reformatted until two verified copies of footage exist to prevent silent corruption and ensure data integrity.
- Automate checksum verification during ingest and store detailed manifests to quickly identify and address transfer issues before proceeding.
- Active editing should run on fast local storage, while backups are maintained on separate drives to prevent simultaneous data loss risks.
- Offsite storage options include cloud services with cost and speed considerations, rotated drives, or LTO tapes for long-term, cost-effective archiving.
- Regular restore drills, with documented results, ensure backup processes work reliably under pressure and highlight potential recovery delays.
Table of Contents
- Building a Video Backup Workflow: The Day-One Checklist
- How Do You Ingest and Verify Footage Before Reformatting Cards?
- Where Should Your Active Project Files Live During the Edit?
- Cloud, Nearline, or Tape: What Belongs in Your Offsite Copy?
- How Do You Test That Your Backups Actually Work?
- Automation Patterns That Cut Human Error Out of the Loop
- Managing Versions of Large Video Files Without Drowning in Storage
- What Security Measures Actually Protect Video Backups?
- Picking Hardware That Balances Speed and Capacity
- The Posthive Perspective: Reducing Restore Friction Through Visibility
- Get Project-Level Visibility Into Every Backup Stage
- Sources
Building a Video Backup Workflow: The Day-One Checklist
Most backup failures trace back to skipped steps, not bad hardware. Here’s what to lock in before you shoot your next project.
The 3-2-1 backup rule maps cleanly onto video production once you assign real roles to each copy: a working copy on fast local storage, a local backup on a second drive or NAS, and an offsite copy somewhere physically separate, ideally cloud or a rotated drive kept off premises. Three copies, two media types, one copy that isn’t in the building.
The checklist that keeps this from falling apart:
- Copy camera cards to two destinations before you touch the reformat button, and run checksum verification on both before deleting anything from the card.
- Label every project folder with a consistent date and job-code convention, and generate a manifest listing every file, its checksum, and its destination.
- Set a card retention window (a retention window of a few days is common) so a bad transfer doesn’t cost you the only surviving copy.
- Assign one person as the owner of each handoff stage: ingest, edit backup, and archive push.
- Define a Recovery Point Objective (RPO, how much work you can afford to lose) and Recovery Time Objective (RTO, how fast you need footage back) for every project, in writing.
Statistic callout: Teams that skip checksum-verified offload and rely on a simple drag-and-drop copy have no way to catch silent corruption. A bit-for-bit verification pass before reformatting is the only step that actually confirms a transfer succeeded rather than just appearing to.
Automate what you can: a nightly scheduled job that mirrors your active project to backup storage removes the “did someone forget” risk entirely. Manual copying works until the one night everyone forgets.
How Do You Ingest and Verify Footage Before Reformatting Cards?
Ingest is where most data loss actually happens, usually because someone reformats a card before the second copy finishes verifying. Here’s the sequence that prevents it.
- Connect the card to your ingest station and copy simultaneously to two destinations — typically a working RAID or fast SSD for editing, and a shuttle drive or NAS for the backup leg. Don’t queue these sequentially if you can avoid it; simultaneous transfer cuts your exposure window.
- Run a checksum pass on both copies. BLAKE3 is faster than MD5 on large files and increasingly common in ingest apps; XXHash is another option built for speed over cryptographic strength, which is fine here since you’re checking integrity, not security. Checksum-verified offloading is the step that separates a real backup from a hopeful one.
- Generate a manifest. Dedicated ingest applications like YoYotta and Silverstack produce a transfer manifest and verification report automatically, listing every file, its checksum, and where it landed. Store that manifest with your project records, not just on the drive itself.
- Read the transfer log before you relax. A clean log shows matched checksums on every file. Anything flagged as a mismatch, a partial read, or a skipped file needs investigation before you move on.
- Hold the card until both destinations verify clean. This is your retention policy in action: 48 to 72 hours minimum, longer for irreplaceable footage.
If you’re comfortable with command-line tools, a verified copy pattern using rsync looks something like this: run the copy with checksum and progress flags enabled, keep the source intact until verification completes, and log the output as your manifest. It’s not glamorous, but it’s auditable, and auditable is what you want when a client asks where a specific take went.
Partial transfers and card read errors happen more than anyone admits. A card that throws read errors mid-copy should get a second, slower pass rather than a retry at full speed; corrupted sectors often yield different results on subsequent attempts. If a file doesn’t verify after two tries, flag it in the manifest as unrecoverable rather than quietly dropping it. That gap needs to be visible to whoever reviews the shoot.
Pro Tip: Keep a small log template (even a spreadsheet) that records card ID, shoot date, ingest time, checksum tool used, and verification result. Six months later, when a client asks “did we actually get that interview,” you’ll have an answer in ten seconds instead of an afternoon of drive-hunting.
Where Should Your Active Project Files Live During the Edit?
Your working copy needs speed. Your backup copy needs reliability. Conflating the two is how teams lose a week of edits to a single dead drive.
For active editing, a fast NAS, a RAID array, or a local SSD scratch disk is the right home for footage you’re touching daily. This working copy prioritizes read/write speed for playback and rendering, not redundancy. Your local backup is a separate, dedicated destination that isn’t in the editing path at all. If your only “backup” is a synced folder on the same machine, you don’t have a backup. You have a second way to lose the same file at the same time.
That distinction matters more than it sounds: sync tools like Dropbox or Google Drive mirror changes, including accidental deletions and corrupted overwrites, instantly to every connected copy. A real backup takes a snapshot at a point in time and holds it, independent of what happens to the source afterward.
Two automation patterns cover most small teams:
- Continuous folder-watching, where a tool monitors your active project folder and pushes changes to backup storage as they happen, minimizing how much work you could lose.
- Scheduled cloning, typically nightly, which is lighter on system resources during work hours and fits teams that don’t need minute-by-minute protection.
Dave Swift’s documented setup runs a nightly chained job: active storage mirrors to an archive drive, which mirrors again to a cold copy, while a cloud tool handles the offsite leg on its own schedule. That layered chain keeps the recovery window small without anyone manually triggering anything.
Team collaboration adds another wrinkle. Shared storage without file locking invites two editors to overwrite each other’s work on the same project file. If your NAS or shared drive supports file locking or checkout status, turn it on. If it doesn’t, build a verbal or task-tracking convention that does the same job.
Finally, build cleanup rules into your process from the start. Proxy files, render caches, and old export versions eat capacity fast, and a working drive that fills up mid-edit is its own kind of outage. Set a rule: proxies get purged after final export lock, and only the last two export versions stay on active storage. Everything older moves to archive or gets deleted.
Pro Tip: Before you delete anything from a full working drive, check that a tool watching your project folder confirms the file already exists, verified, somewhere else. Guessing costs you footage; checking costs you thirty seconds.
Cloud, Nearline, or Tape: What Belongs in Your Offsite Copy?
The offsite leg of your video backup workflow is where budget constraints collide hardest with restore expectations. Each option trades speed for cost differently.
Cloud storage is the easiest offsite copy to set up and the easiest to underestimate on cost. Most consumer and prosumer cloud services carry file-size limits and practical performance ceilings that matter once you’re pushing multi-terabyte project folders instead of photos. Upload speed, egress fees on the way back out, and restore time for a full project recovery are the three costs people forget to budget for until they need a fast restore and discover it isn’t fast at all.
Nearline options, virtual offsite agents that sync to a remote data center, or physically rotated drives you swap with a location off-site, split the difference. They cost less than always-on cloud storage for large volumes and restore faster than tape, but need someone to actually manage the rotation schedule.
LTO tape earns its reputation for a reason: it’s cheap per terabyte at scale, stable for a decade or more in proper storage conditions, and air-gapped from ransomware and accidental cloud-sync deletions by design. The tradeoff is retrieval speed and the upfront cost of a drive. LTFS formatting makes tape browsable like a regular filesystem, which removes a lot of the old friction around cataloging what’s actually on a given tape.
| Offsite option | Best fit | Main tradeoff |
|---|---|---|
| Cloud backup | Small to mid-size teams, fast offsite setup | Egress costs and slow full-project restores |
| Rotated drives / nearline | Teams with a second physical location | Requires manual rotation discipline |
| LTO tape | Long-term archive, high volume, compliance needs | Slow retrieval, upfront drive cost |
Cataloging matters regardless of which medium you pick. A tape or drive with no index is a box of hope. Advanced teams sometimes use content-addressed storage, which hashes files for deduplication and gives you tamper-evident integrity checks on long-term archives, useful once your archive spans multiple projects and years.
For most small teams, the practical hybrid looks like this: cloud for anything you might need back within days, rotated drives or LTO for anything you’re archiving past project delivery.
How Do You Test That Your Backups Actually Work?
A backup nobody has restored is a theory, not a safety net. Regular restore drills are the only way to know your process holds up before a client deadline forces the question.
- Pick a project at random, not your best-organized one. Testing your cleanest project tells you nothing about your actual risk.
- Restore it from the backup copy, not the working copy, and open the files in your NLE. Confirm media links, color grades, and any linked assets like graphics or audio all resolve correctly.
- Time the process. This is how you find out if your stated RTO is realistic or wishful thinking.
- Check the restore against your manifest. Every file that was supposed to be there should be there, with a matching checksum.
- Document the result, including anything that failed, and file it with your project records.
Statistic callout: Restore drills exist because problems surface under pressure otherwise, missing dependencies, expired cloud credentials, a drive that was unplugged for six months and won’t spin up. A scoped monthly or quarterly drill catches these while the cost of failure is a wasted afternoon, not a missed delivery.
Common restore failures worth planning for: missing linked media because proxies weren’t archived alongside originals, expired or rotated cloud credentials that block automated restores, and drives that fail to mount after long dormancy. Each has a fix, but only if you find it during a drill instead of during a client emergency.
Assign RPO and RTO ownership to a specific person per project, not “the team.” Someone needs to be accountable for confirming the numbers are met, and that accountability disappears the moment it’s everyone’s job.
Automation Patterns That Cut Human Error Out of the Loop
The gap between a documented backup policy and a reliable one is almost always automation. Manual steps get skipped on deadline days; scripts and watchers don’t.
Continuous folder-watchers make sense for active edit projects where you can’t afford to lose more than an hour of work. Scheduled jobs, running nightly or at shift-end, fit archive pushes and offsite syncs where a few hours of lag is acceptable. Pick based on how expensive an hour of lost work actually is on that specific project, not a blanket rule for every job.
- Set up automated alerts that fire specifically on failed checksum verification, not just on job completion, so a silent corruption doesn’t sit unnoticed for days.
- Use a transfer dashboard or even a shared log if you’re running multiple concurrent ingests, so nobody’s guessing which card already got copied.
- For disconnected-drive workflows, a tool that tracks file location across drives lets you confirm a file is safely backed up elsewhere before you free up space locally, instead of deleting on faith.
- Small scripting patterns, a scheduled rsync job, a batch checksum script run automatically post-ingest, save real hours across a project without requiring custom software.
Cadence recommendations that hold up across most small teams: nightly mirrors for active projects, weekly archive exports for completed work, and monthly restore drill spot-checks. Adjust the frequency up for high-stakes clients, never down.
Pro Tip: If you only automate one thing, automate the alert on failed verification. A backup that quietly fails and tells nobody is worse than no backup, because you’ll trust it right up until the moment you need it.
Managing Versions of Large Video Files Without Drowning in Storage
Full copies of every version of a multi-terabyte project aren’t sustainable, and they’re not necessary either. The trick is applying incremental logic to files that are individually too large for the naive version of “keep every version.”
For project files themselves (your NLE project, timeline, and metadata), full versioning is cheap because these files are small. Keep every meaningful save point. For the media itself, which is where the storage cost actually lives, incremental backup tools that only copy changed blocks rather than entire files make far more sense than duplicating a 40GB clip because you trimmed two seconds off it.
Export versions deserve their own retention rule. Keeping every export of every cut ever rendered will fill a drive fast. A workable pattern: keep the last two or three export rounds on active storage, and once a cut gets client approval, archive that final version and let the intermediate rounds age out.
Deduplication tools that hash file content, rather than comparing filenames or timestamps, catch cases where the same clip exists in multiple project folders under different names. That’s common when footage gets reused across a trailer, a social cut, and a final deliverable. Content-addressed storage approaches handle this natively by storing data once regardless of how many project folders reference it.
The practical rule: version your project files completely, version your media incrementally, and archive final approved exports while letting intermediate drafts expire on a schedule you set in advance, not whenever the drive fills up.
What Security Measures Actually Protect Video Backups?
Video backups carry the same risk profile as any sensitive client asset: unreleased footage, contractual exclusivity windows, and sometimes personal or medical content depending on the project. Treat access control as seriously as the backup schedule itself.
Encryption belongs at two points: in transit, when files move to cloud or offsite storage, and at rest, on any drive that leaves your physical control. A stolen shuttle drive with unencrypted footage is a breach; an encrypted one is a lost asset you can replace. Most modern backup software and NAS systems support AES encryption natively, so this is rarely an extra purchase, just a setting to enable.
Access controls matter as much as encryption. Not everyone on a production needs write access to the archive tier. A practical structure limits reformat and delete permissions to one or two people, while giving broader read access to whoever needs to pull footage for review. Client-facing shares should use expiring links rather than permanent credentials, especially for footage under an embargo or exclusivity clause.
Physical security for offsite drives and tape counts too. A rotated drive sitting in someone’s car isn’t offsite protection, it’s a different kind of risk. Cloud credentials should rotate on a schedule, and any former team member’s access should be revoked the day they leave the project, not whenever someone remembers.
The baseline worth adopting: encrypt anything that leaves the building, restrict delete permissions to a small named group, and log who accessed the archive and when. That log is the difference between “we think it’s fine” and being able to prove it.
Picking Hardware That Balances Speed and Capacity
Hardware choice for a video backup workflow comes down to matching each stage’s job to the right tool, not buying the fastest or biggest drive available and hoping it covers everything.
Working storage needs speed above all: NVMe SSDs or a well-configured RAID array for active editing, where you’re scrubbing timelines and rendering previews constantly. Capacity matters less here because working storage should cycle projects through and out, not hold everything forever.
Local backup storage flips the priority. Spinning HDDs in a NAS enclosure give you far more capacity per dollar than SSDs, and backup storage doesn’t need to serve real-time playback, just reliable, verified writes. A RAID configuration with parity (RAID 5 or 6, or equivalent) protects against a single drive failure without doubling your cost the way full mirroring does.
For the offsite and archive tier, capacity per dollar matters most of all, which is exactly why LTO tape holds its ground against cloud storage for teams archiving terabytes per project. A single LTO cartridge costs a fraction of the equivalent cloud storage over a multi-year retention period, even accounting for the drive itself.
Shuttle drives for on-set ingest need a different spec entirely: rugged, bus-powered, and fast enough to keep up with card offload without a separate power brick to forget at a location. This is the one tier where portability outweighs raw capacity.
Don’t buy for today’s project size. Buy for the project six months from now that’s twice as large, because it’s coming.
The Posthive Perspective: Reducing Restore Friction Through Visibility
Most backup failures aren’t technical. They’re informational. Someone doesn’t know a file was already verified, so they hold up delivery re-checking it. Someone else doesn’t know which drive holds the archived master, so a “quick restore” turns into a half-day search.
That’s the gap Posthive’s version management and file tracking close. When ingest status, file location, and approval history live in one visible project record instead of someone’s memory, the manifest you built during ingest stops being a spreadsheet nobody opens again and becomes an active reference the whole team checks. Task tracking tied to actual project stages means restore drills, RPO/RTO sign-offs, and archive pushes have a named owner and a visible status, not a vague assumption that “someone” handled it.
The workflow this article describes only works if the documentation survives contact with a real deadline. Visibility is what makes that happen.
— Lorenz
Get Project-Level Visibility Into Every Backup Stage
Posthive gives small production teams something a checksum manifest alone can’t: a single place where everyone can see exactly which files are verified, where the archive copy lives, and who signed off on the last restore drill, without digging through folders or group chats.
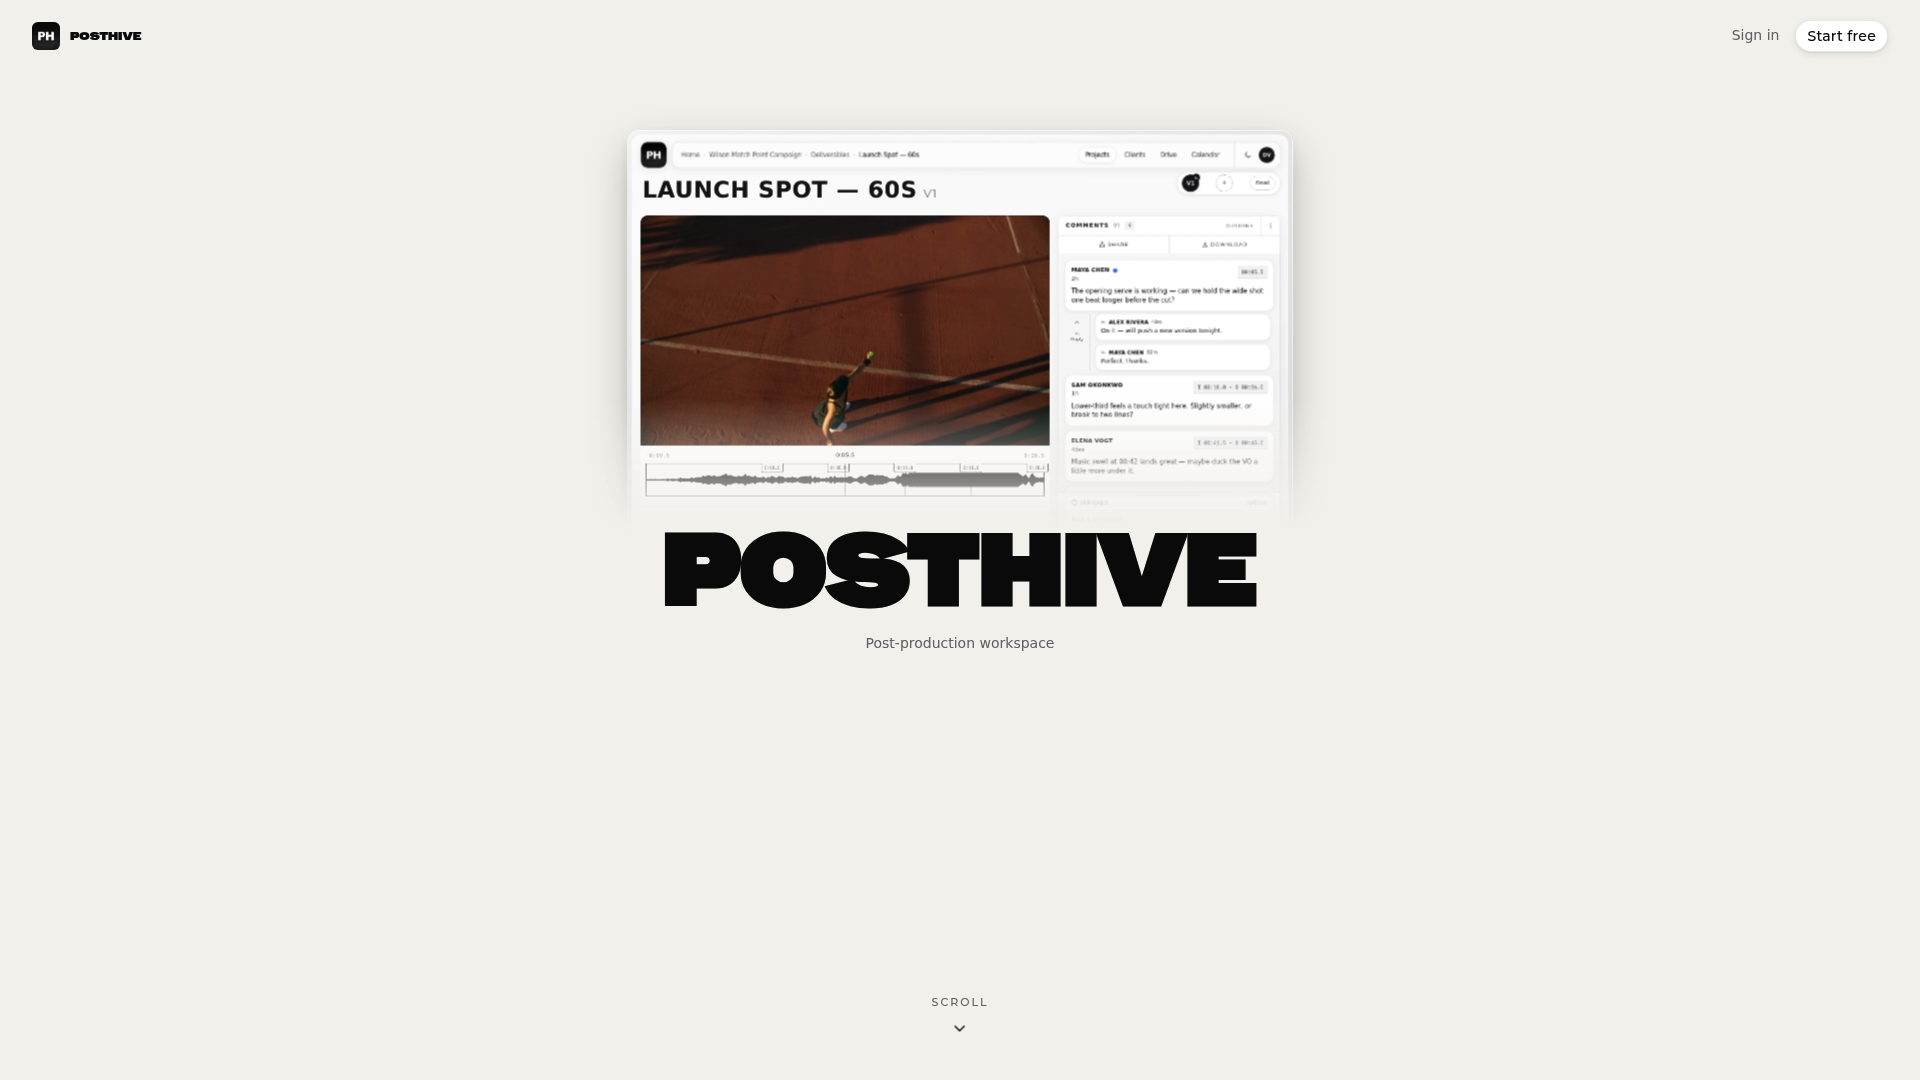
Posthive’s version management tracks every cut and approval so your team stops guessing which export is the client-approved one, and its file tracking keeps a record of where each asset actually lives across drives and cloud storage. Task assignments make ingest, backup, and archive handoffs someone’s clear responsibility instead of an unwritten expectation. If you’re already running the checklist and drills covered here, Posthive is where that documentation actually gets used day to day. Start a project on Posthive and see how quickly your team stops re-verifying work that was already done.
Sources
- Creator backup workflow guide — Lexar
- How to Back Up Large Video Files: The 3-2-1 Strategy for Creatives – DIT Tools
- 3-2-1 Backup Strategy for Video Production | My Full Setup — Dave Swift
- Video Production Backup Workflow: Ingest, Edit, Archive, and Restore — The Pro Toolkit