
Video Localization Workflow: 7 Stages From Master to Delivery

A good video localization workflow is one locked source, one set of language assets, and one place where every language version, comment and approval lives. Teams that skip that structure end up re-checking every language each time the English cut changes. This guide walks through the seven stages we use to think about localization, what goes wrong at each one, and how to keep versions and approvals under control when you are shipping into five, ten or twenty languages at once.
TL;DR
- Lock the source video and transcript before any translation starts. A change after that point forces every language to be re-checked.
- Localization is more than dialogue: on-screen text, graphics, dates, units, humor and delivery formats all need a decision per market.
- Review in three layers: technical, linguistic, and in-market. Then open every deliverable, not just the upload confirmation.
- Name an owner for every approval stage and log every version, or the process turns into email archaeology.
- Posthive keeps versions, tasks, review and client approval in one workspace, with unlimited free seats on every plan.
Table of Contents
- What a localization workflow actually covers
- Stage 1: Scope the project and write the brief
- Stage 2: Prepare and freeze the source
- Stage 3: Transcribe and prepare the script
- Stage 4: Translate and adapt
- Stage 5: Choose the dialogue method and build the audio and text layers
- Stage 6: Localize the visuals
- Stage 7: Review, QA and delivery
- Coordinating tasks, versions and approvals across languages
- Where Posthive fits in this workflow
- Try it on your next multi-language project
- FAQ
- Sources
What a localization workflow actually covers
Video localization means adapting a video so it feels native to a specific language and region. Translating the script is the middle of the job, not all of it.
A complete workflow decides how the dialogue reaches the viewer: subtitles, voiceover or dubbing. It also rewrites on-screen text such as titles, lower-thirds and burned-in captions. Graphics that carry text or cultural meaning may need to be rebuilt. Dates, times, currency, units and number formats change. Idioms, jokes and references that do not land in the new culture get adapted or replaced.

That is why the workflow matters more than any single tool. Each of those layers is a separate piece of work with a separate owner, and each produces files that must stay matched to the right cut of the video. The people who get hurt are usually editors and producers who discover on delivery day that the French subtitles were timed to a cut that no longer exists.
The seven stages below apply whether you are a freelancer localizing a single documentary into Spanish or a production company running a series across a dozen markets.
Stage 1: Scope the project and write the brief
Before anyone opens a file, write down what “done” means. The brief is a one-page document, and it prevents most of the rework that appears later.
A useful localization brief records:
- Target languages and regional variants. “Spanish” is not a specification. Mexican and Castilian Spanish, or Brazilian and European Portuguese, are different jobs.
- Audience and purpose. Who watches, what they already know, and what the video is for.
- Channels and formats. Platforms, aspect ratios, and whether the original voice must remain audible under a dub.
- Deliverables per language. Translated script, subtitle file, revised timing, voiceover, and the fully assembled localized video are separate line items with separate costs.
- Terminology. Brand terms, product names and a do-not-translate list for slogans, model codes and similar strings.
- Deadlines, review windows and owners. One named person for each approval stage.
Tag each locale with a standard language code. The IETF’s BCP 47 system, which produces tags like es-MX or pt-BR, is the common convention for naming locales in file names and metadata, and it keeps es from meaning three different things in the same folder.
Where it goes wrong: the brief lives in someone’s inbox. Three weeks later a vendor, a freelancer and a client each hold a different version of the language list. Pin the brief to the project itself, next to the files it governs.
Stage 2: Prepare and freeze the source
The cheapest hour in localization is the one spent on preparation, and the most expensive is the one spent after the source changes.
Gather a source package:
- The final, approved, locked video with an exact version number and frame rate.
- The editable project files, where graphics will need to be rebuilt.
- Clean audio stems: dialogue separate from music and effects (M&E). Dialogue-free M&E tracks are what let a dubbed language sit on the same soundtrack bed. Stems in WAV or AIFF at the original sample rate, typically 48 kHz for video, are the usual preference.
- A clean master without burned-in text, if you have one.
- The final script with timecodes, speaker names, and any existing SRT or VTT files.
- Licensed fonts that support the target scripts. A typeface that handles English may have no glyphs for Japanese, Korean or Thai.
- A graphics inventory: a simple spreadsheet listing each text instance, its timecode, its source string, and whether the asset is editable.
Then freeze it. Once the source is approved and versioned, it does not move. If it does move, every language has to be re-checked, and the team needs to know exactly which downstream files that touches.
Where it goes wrong: the “final” cut gets a late trim. Nobody tells the subtitle team. Handle this by treating the source as a versioned asset with one current master, and by logging which language files were built from which version. Our guide to stopping version chaos in a transcription workflow covers the naming and tracking habits in detail.
Stage 3: Transcribe and prepare the script
Every language starts from the source transcript, so errors here are multiplied. A word misheard in English becomes a mistranslation in every target language.
Produce a clean, timed transcript with speakers identified. Auto-generated captions are a fast first pass, and a human then corrects names, jargon and numbers before the transcript is declared final. If you want to speed up that first pass, see our workflow for auto captions on video.
This is also the point to prepare language assets that make every later language cheaper:
- A glossary of approved translations for recurring terms.
- A style guide covering tone, formality, and how humor is handled. Our subtitle style guide shows the rules a whole team can follow.
- A translation memory where one is available, so previously approved lines are reused rather than retranslated.
Give linguists context. A short phrase can be impossible to translate correctly without knowing who says it, to whom, and why. Include a reference video, speaker descriptions, and notes on humor or cultural references.
Stage 4: Translate and adapt
Translation for video differs from document translation because the text has to fit time and space. A line must be short enough to read, and sometimes short enough to speak in the same shot.
Translators work from the timed transcript and the video together. They also adapt rather than translate where needed: swapping a sports metaphor, localizing a unit of measure, or flagging a visual that will not carry. Anything they cannot resolve should come back as a logged query, not a silent guess.
A few practical rules:
- Approve the translated script before anyone records voice or builds final subtitles. Late script changes create avoidable retakes, re-editing and re-sync work.
- Resolve terminology and pronunciation questions early, while changing them costs nothing.
- For legal, medical, security or technical material, regional reviewers need domain knowledge, not just fluency.
If your core deliverable is subtitles, the subtitle translation workflow with two-pass QA and our six-phase video translation checklist go deeper on this stage. For timed-text delivery formats, see transcript translation to TTML/IMSC1.
Stage 5: Choose the dialogue method and build the audio and text layers
Now decide how each language reaches the viewer. The three options are subtitles, voiceover and lip-matched dubbing, and the choice can differ by market and by channel.
| Method | What it involves | Typical fit |
|---|---|---|
| Soft subtitles | Separate timed-text file the viewer can switch on or off | Streaming, web players, accessibility needs |
| Burned-in subtitles | Text rendered into the picture | Social platforms and places where sidecar files are not supported |
| Voiceover | Translated narration over a lowered original track | Documentary, interviews, training |
| Dubbing | Replacement dialogue, often matched to lip movement | Narrative, entertainment, broadcast |
The subtitle choice affects your file count and delivery. Our comparison of burned-in versus soft subtitles explains when to deliver which, and the subtitle file formats guide covers the formats.
For subtitle text, follow a written style guide. Netflix’s published timed text guidelines, a widely used reference, set 42 characters per line for most Latin-alphabet languages with a maximum of two lines. Whether or not you deliver to that platform, a limit like that is a sensible default for line length. Our subtitle styling guidelines show how to set your own.
If you dub, record from the approved script and mix against the M&E track. Keep takes labeled by language, version and speaker, because the retake you need in week three will be impossible to find otherwise.
Stage 6: Localize the visuals
This is the stage most often forgotten, and the one a viewer notices instantly. Go through the graphics inventory from stage 2 and handle each item:
- Rebuild titles, lower-thirds and charts with translated text, using fonts that support the script.
- Allow for text expansion. German and Finnish strings often run longer than English; a button label that fit in English may be truncated.
- Convert dates, times, currency, units and number formats to the target market’s conventions.
- Replace screenshots so they match the localized interface where the video shows software.
- Swap images, colors, gestures or symbols that carry a different meaning in the market.
Where it goes wrong: burned-in text in the master. If the source has text baked into the picture and no clean master, every language means a rebuild from scratch. Ask for a textless master at the start.
Stage 7: Review, QA and delivery
Review flows downstream, and errors flow with it. That is why the order matters.
A three-layer review
- Technical QA. Audio and subtitle sync, encoding, subtitle timing and readability, text truncation, audio balance, and lip sync viewed at full screen.
- Linguistic QA. A native speaker checks accuracy, glossary consistency, tone and cultural fit.
- In-market review. Someone who lives in the target region confirms it sounds right locally and that nothing is inappropriate.
For each language, a clean review sequence is: check and freeze the source transcript, review the text against it, watch the whole video at normal speed, make fixes, verify that only the logged issues changed, then sign off.
The final deliverable check
Before release, confirm for each file:
- Correct language version and file name.
- Correct duration and export settings.
- Complete audio, with nothing cut off, and audio in sync with the picture.
- Accurate subtitles, correct end cards and calls to action, no placeholder copy.
- Playback on the devices and platforms you are delivering to.
- Approval from the named final owner.
Open every deliverable. A successful upload does not prove the file plays. A linguistically excellent video that fails to load is still a failed release.
Afterward, archive the project so a future update starts from the right files. Our three-copy archiving checklist describes how.
Coordinating tasks, versions and approvals across languages
The seven stages are the easy part to describe. The hard part is keeping 10 languages and 4 reviewers in step.
What works in practice:
- Three approval owners with clear authority: a language and brand reviewer, a claims approver where regulated statements appear, and a final creative acceptor.
- A control record that logs, for each change, which assets it touches, the new version number, who approved it and the approval state.
- A delivery manifest listing file name, locale, channel, aspect ratio, version, caption format, approval status, and any deliberate exclusions, such as a market where a clip was cut.
- A rule for change requests. Classify every incoming change by what it affects before anyone edits. A typo in an on-screen title touches one graphic per language; a script change touches everything.
- A release decision rule with three outcomes: approve, approve after named fixes, or hold.
In a spreadsheet-and-email setup this is a full-time chore. That is the reason to run it in a production workspace rather than a pile of folders.
Where Posthive fits in this workflow
Posthive is a cloud post-production workspace built around exactly the coordination problems above. For a localization workflow, our team can keep these in one place:
- Version control for the source master and each language version, so reviewers always open the right cut.
- Task and deadline tracking, with Google Calendar integration for review windows and delivery dates.
- Transcription and translation workflows for the transcript, subtitle and translation stages.
- Collaborative review and client feedback and approval tracking, so sign-off is recorded where the work happens.
- Secure media delivery, with plugins for NLEs on the editing side, and clients keeping ownership of their deliverables and versions.
Seat count is a real issue in localization, where linguists, in-market reviewers and clients each need a look. Posthive offers unlimited free seats on every plan, so you do not pay per reviewer.
Our view: localization is a version problem first
Most of the pain we hear about in multilingual video is not a translation problem. It is a question of which file is current, who approved it, and what changed since. A subtitle file is only correct relative to one specific cut of the picture.
That is why we built Posthive around version management, task tracking and client approval in a single workspace. When the source, the transcripts, the language versions and the feedback sit together, a late change becomes a short list of affected files instead of a scramble.
We also think reviewers should never be a cost line. Linguists, in-market checkers and clients all improve the result, so every plan has unlimited free seats. Bring everyone in.
Lorenz
Try it on your next multi-language project
Posthive has a free plan, a Pro plan at $49 per month and an Enterprise plan at $99 per month, with storage and feature tiers that differ by plan. Pro and Enterprise are listed on the pricing page, and the Posthive workspace is where you can set up your first localized project, from source master to approved language versions.
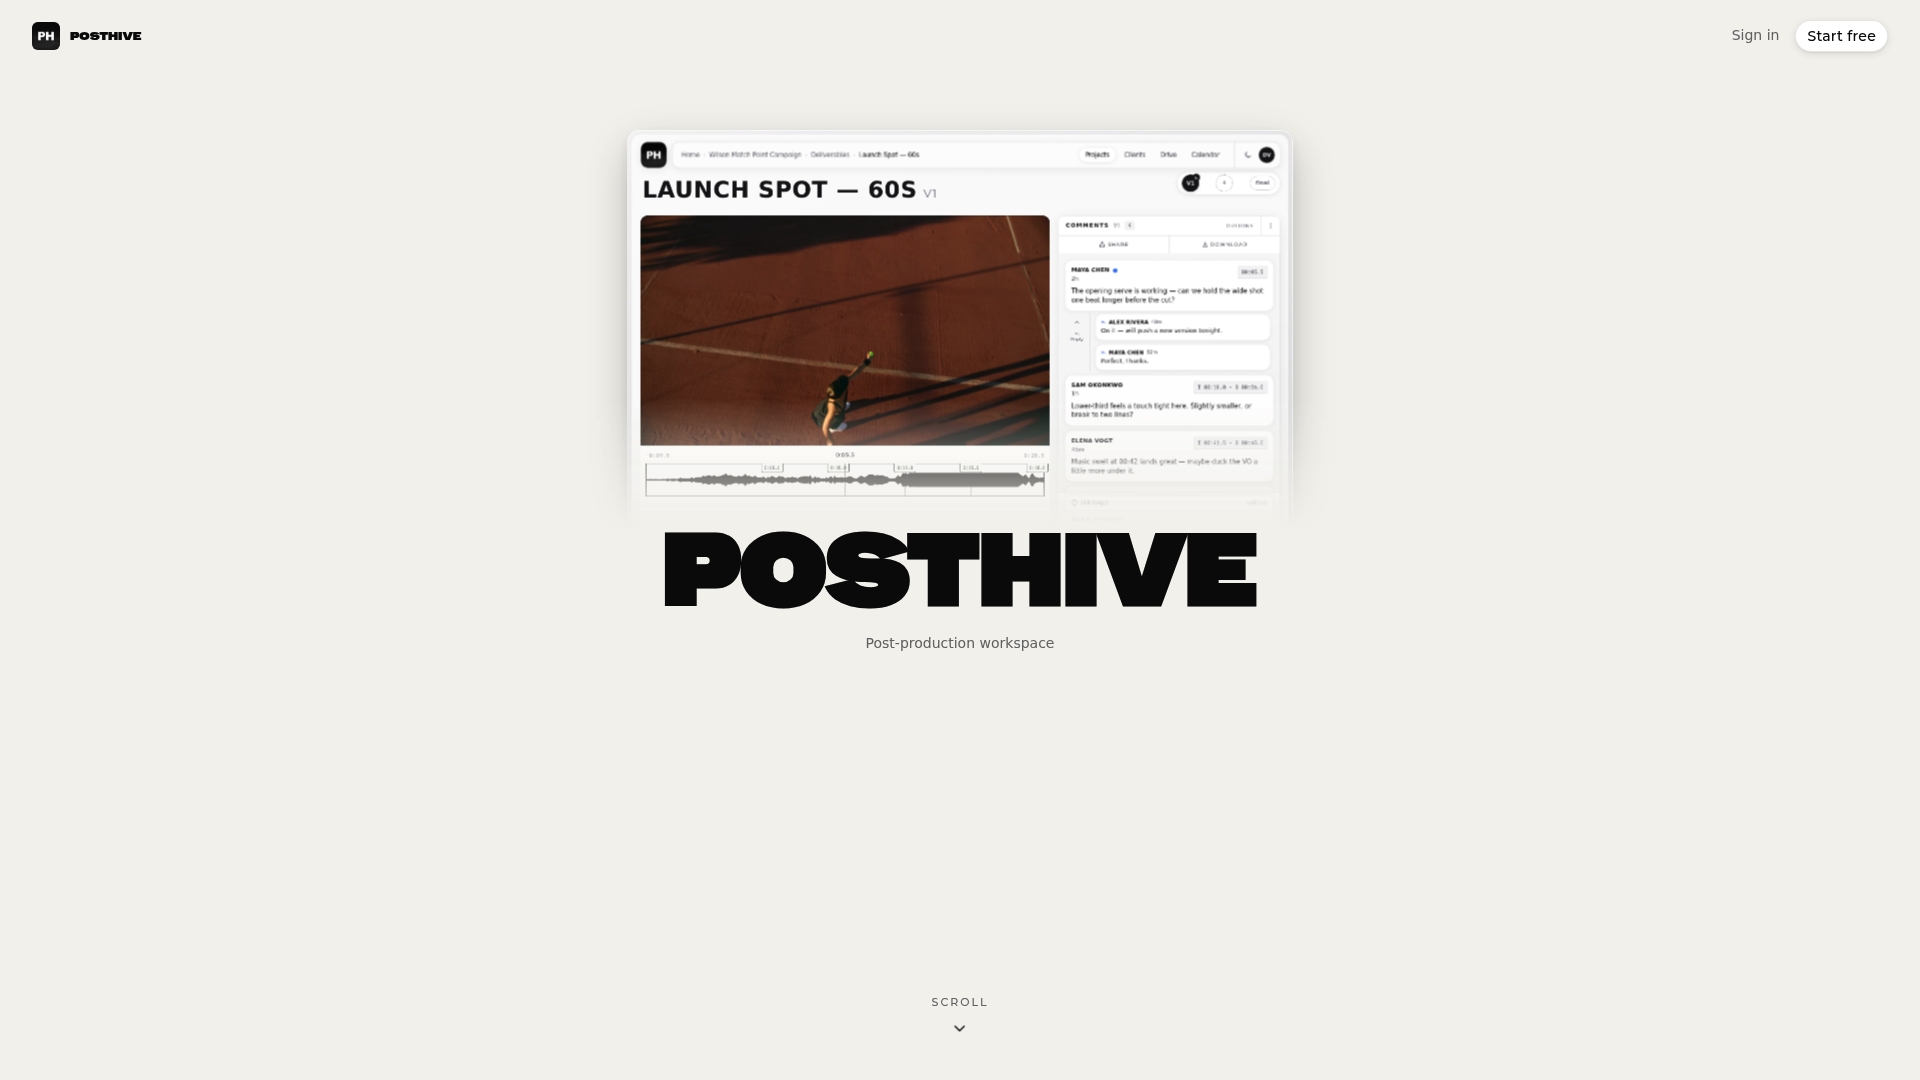
If you manage several projects at once, the productivity overview shows how tasks and deadlines line up across them.
FAQ
What is the difference between video localization and video translation?
Translation converts the spoken or written words into another language. Localization goes further: it also adapts on-screen text, graphics, units, dates, humor and cultural references, and it decides whether the viewer gets subtitles, voiceover or dubbing. Translation is one stage inside the localization workflow.
What should I prepare before sending a video for localization?
Prepare the locked final video, the approved script with timecodes, separate dialogue and music-and-effects audio, editable project files, a textless master if available, a graphics inventory, and a glossary with a do-not-translate list. Add the target locales, such as Mexican Spanish rather than just Spanish, and name an approver for each stage.
How many review rounds does localized video need?
Three kinds of review cover most risk: technical (sync, timing, encoding), linguistic (accuracy and tone by a native speaker), and in-market (a local reader confirming it feels right). Run them in that order after the source transcript is frozen, and verify that only logged issues changed between rounds.
How do I stop language versions from getting mixed up?
Freeze the source, give every language file a consistent name that includes the locale code and version, and log which source version each file was built from. Keep a delivery manifest with approval status per file, and keep all of it in the same workspace as the video.