Your Post Production Checklist From Ingest to Archive
Your Post Production Checklist From Ingest to Archive

Here’s the whole workflow in one line: Ingest & backup (with checksums) → Organize → Sync/Proxies → Assembly → Rough cut → Fine cut → Picture lock → VFX/Graphics → Color → Sound mix → Captions/QC → Export/Deliver → Archive. Every post production checklist worth using follows roughly this order, because each phase produces the file or approval the next phase depends on.
Ownership matters as much as sequence. Editorial owns ingest through picture lock, sound design and the mixer own the audio pass, the colorist owns grading, a VFX supervisor owns effects tracking, and the producer or post supervisor signs off on every handoff in between. Paste these into your task tracker with names attached, not just phase labels.
- Ingest & backup: producer/assistant editor, with checksum verification on every drive
- Organize & sync: assistant editor
- Assembly through picture lock: editor
- VFX & graphics: VFX supervisor
- Color: colorist
- Sound post: sound designer/mixer
- Captions, QC, export, delivery: post supervisor
- Archive: producer of record
A full editable version of this list lives in the resources section below, ready to drop into your project management tool.
Pro Tip: Most post production delays trace back to one thing: nobody owns the handoff between phases. Name a single person responsible for every transition, not just every task.

Key Takeaways
A post production checklist only works when every phase has a named owner, a defined finish line, and one shared review surface for notes.
| Point | Details |
|---|---|
| Ingest with checksums | Verify every transfer with checksum tools before formatting cards to prevent corrupted media. |
| Lock before turnover | Freeze picture before generating EDL/AAF/XML files for sound, color, and VFX teams. |
| Hit loudness specs | Target -24 LKFS (US) or -23 LUFS (EU) with True Peak at or below -2 dBTP. |
| Cap client reviews | Default to two review rounds per project; treat a third round as billable. |
| Centralize the workflow | Posthive maps version control, task ownership, and frame-accurate review onto this exact checklist. |
Table of Contents
- The Post Production Process, Phase By Phase
- How Long Should Each Post Production Phase Take?
- What Technical Specs Should Post Teams Hit?
- Final Technical QC and Legal Clearance Checklist
- Why Do Loudness and True Peak Matter So Much?
- What Actually Breaks Post Workflows
- Where Posthive Fits Into This Checklist
- Resources to Implement This Checklist
- Sources
The Post Production Process, Phase By Phase
A post production checklist only works if each phase has a clear finish line. Below is the operational version, the one you actually run against during a job rather than glance at once and forget.
1. Ingest and backup
This is where most disasters start, and almost all of them are preventable.
- Copy camera cards to at least two separate physical or cloud destinations before formatting anything
- Run checksum verification (MD5 or xxHash) on every transfer to confirm bit-for-bit accuracy
- Rename files using a consistent convention: project code, date, camera, reel/card number
- Log audio files, timecode source, and any external recorder metadata immediately
- Confirm sound rolls match picture rolls before cards get wiped
- Store one backup on-site and one off-site or in the cloud the same day
Skipping checksums is the single most common failure mode in this phase. A corrupted transfer that goes unnoticed until the edit is three weeks in costs far more than the ten minutes verification takes.
2. Organize footage
Editors inherit chaos or order, and it’s decided here.
- Build a standard bin structure (Footage, Audio, Graphics, Music, Sequences, Exports) before importing anything
- Tag or label footage by scene, setup, or interview subject
- Log circle takes and director’s picks separately from raw dailies
- Create a shared naming convention for sequences so nobody guesses which version is current
- Note camera and lens metadata if color or VFX will need it later
- Flag any footage with technical issues (audio dropouts, focus problems) so it’s not rediscovered at fine cut
3. Sync and prep audio
Multi-cam and external-recorder projects live or die on this step.
- Sync production audio to picture using timecode or slate claps
- Verify sync holds across the full length of longer takes, not just the head
- Group multi-cam angles into synced clips with consistent naming
- Confirm scratch audio versus final production audio is clearly labeled
- Note any ADR candidates flagged on set so sound post knows what’s coming
4. Create proxies if needed
Not every project needs proxies, but heavy codecs, remote teams, or underpowered edit stations usually do.
- Generate proxies at a resolution that matches your finishing pipeline (half or quarter res is standard)
- Match proxy and camera-original file names exactly for a clean relink later
- Confirm color space tags carry through so grading isn’t guessing at the source
- Store proxies separately from camera originals to avoid accidental overwrite
5. Assembly, rough cut, fine cut, picture lock
This is the emotional core of editing, and it’s also where scope creep does the most damage if review rounds aren’t defined upfront.
Assembly comes first: string out selects in story order with minimal trimming, just to see what you have. The rough cut follows, tightening pacing and testing structure. The fine cut refines performance, timing, and transitions, incorporating the first round of internal or client notes. Picture lock is the finish line: once locked, editorial stops changing cut points, and every downstream department (sound, color, VFX) starts building against a fixed timeline.
- Assembly: full selects assembled in sequence, no polish
- Rough cut: structure and pacing locked internally
- Fine cut: incorporate first client review round, tighten performance beats
- Picture lock: freeze the timeline, generate turnover materials
- Turnovers: export EDL, AAF, and XML for sound, color, and VFX teams, plus a locked reference QuickTime
A step-by-step post production framework built around these exact phases, with checksum verification and turnover artifacts baked in, tends to prevent the rework that eats budgets. Keeping the whole plan on one shared surface, rather than scattered across email threads, is one of the simplest ways to cut information loss at each handoff.
6. VFX and motion graphics pipeline
- Log every VFX shot in a shared tracker with status (not started, in progress, review, final)
- Confirm plate resolution and color space match the finishing pipeline before work begins
- Version shots clearly (v1, v2, v3) with no overwriting of prior versions
- Route VFX review through the same tool as picture notes, not a separate email chain
- Lock graphics templates (lower thirds, titles) before fine cut so timing doesn’t shift after animation
7. Color correction and grading
- Confirm the reference monitor is calibrated before grading begins
- Match shots across cameras and lighting setups before applying a creative look
- Apply LUTs as a starting point, not a final answer. Grade to the delivery color space, not the LUT preview
- Export a grading reference still or clip for the client to approve before final render
- Confirm HDR and SDR versions are graded separately if both are required
8. Audio post: cleanup, ADR, Foley, mixing
- Clean up production audio: remove hums, hits, and background noise before anything else
- Record ADR for any flagged lines, matching room tone and performance energy
- Add Foley and sound design layers according to the spotting notes from picture lock
- Mix dialog, music, and effects to a rough balance before final mastering
- Master to loudness spec (covered in detail below) and confirm on headphones and speakers
- Send stems, not just a stereo mixdown, if the project will need remixing later. Guidance on exactly what mixers need can save a round-trip
9. Captions, subtitles, and localization
- Generate a caption file synced to the locked picture, never a rough cut
- Choose format based on destination: SRT for most platforms, TTML or DFXP for broadcast
- Decide sidecar files versus burned-in text based on delivery requirements
- Send captions for translation only after picture lock to avoid re-timing every version
- Spot-check timing and line breaks on at least one full watch-through, not a skim
10. Final review, approval, and legal releases
- Confirm the final cut has gone through every agreed review round before final export
- Collect signed talent releases, music licenses, and any trademark clearances before delivery
- Verify credits and on-screen text for spelling and accuracy
- Route final sign-off through one named approver, not a group thread
11. Export, delivery, and archiving
- Export masters at full resolution and bit depth before generating any compressed deliverables
- Name final files with project code, version number, and delivery date
- Generate a delivery manifest listing every file, checksum, and format included
- Archive project files, media, and a post book (notes, releases, specs) to long-term storage
- Confirm archived media uses a preservation-friendly format and at least two storage locations
A printable editing workflow checklist that covers organization, fine cutting, and export/archive steps is worth keeping pinned next to your monitor for exactly this stretch of the job.
How Long Should Each Post Production Phase Take?
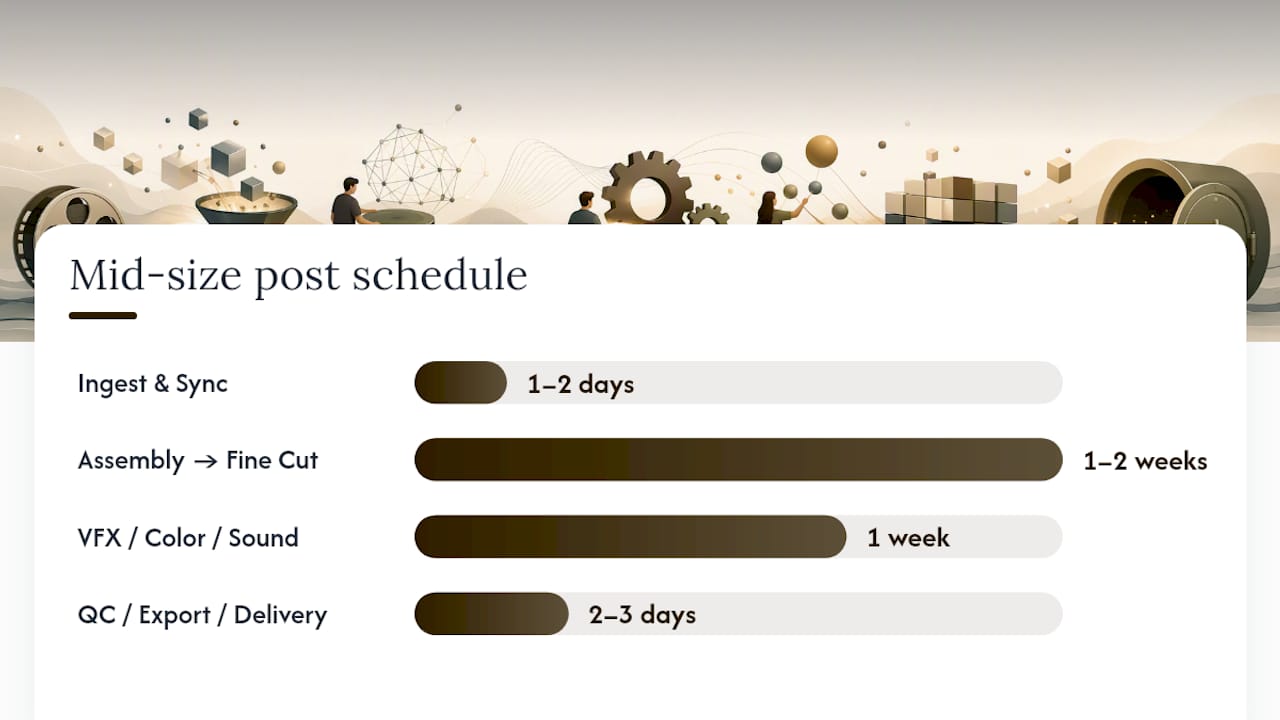
Timelines vary by project scale, but a rough pattern holds across most shops.
Small short-form project (60 to 90 second piece):
- Ingest, organize, sync: half a day
- Assembly through fine cut: 2 to 3 days
- Picture lock to VFX/color/sound complete: 2 days
- QC, export, delivery: half a day
Mid-size commercial or narrative short:
- Ingest, organize, sync: 1 to 2 days
- Assembly through fine cut: 1 to 2 weeks
- Picture lock to VFX/color/sound complete: 1 week
- QC, export, delivery: 2 to 3 days
Role ownership stays consistent regardless of scale: the editor drives everything up to picture lock, the post supervisor manages handoffs, and the colorist, sound designer, and VFX supervisor each own their lane once the timeline is frozen. The producer or client approver signs off at defined checkpoints, not whenever a note occurs to them.
Naming conventions save more time than almost any other habit. Label drives with project code and date, projects with version numbers, sequences with phase names (ASSEMBLY_v1, FINE_v3, LOCKED), and final masters with resolution and delivery target baked into the filename. Track a minimal metadata set for every asset: project code, shoot date, camera, reel, and take.
- Assign one approver of record per review round, not a committee
- Default to two client review rounds; treat a third as billable extra work
- Require every note to land in the review tool, never scattered across email or text
Pro Tip: Set the review-round limit in writing before the project starts. Nothing burns a schedule faster than an “unlimited revisions” assumption nobody actually agreed to.
What Technical Specs Should Post Teams Hit?
Broadcast and streaming platforms enforce loudness standards strictly, and missing them is one of the most common reasons a deliverable bounces back. Professional compliance typically targets around -24 LKFS for US broadcast and -23 LUFS for EU delivery, with True Peak held at or below -2 dBTP to avoid clipping across playback devices. Always check the specific platform or broadcaster’s spec sheet, since streaming services frequently set their own targets that override the general guidance.
Loudness at a glance: US broadcast targets -24 LKFS, EU targets -23 LUFS, and True Peak should sit at or below -2 dBTP for both.
Codecs and containers:
- Mezzanine masters: ProRes 422 HQ or DNxHR HQ for editorial and archival integrity
- Platform deliverables: H.264 or H.265 in MP4/MOV containers, with bitrate scaled to resolution (roughly 35 to 45 Mbps for 4K, 8 to 12 Mbps for HD)
- Broadcast masters: check the network’s technical spec sheet before assuming a codec
Color space:
- Rec.709 remains standard for HD delivery
- Rec.2020 or P3 applies for HDR workflows, with tone mapping planned before grading starts
- Calibrate the grading display and confirm LUTs match the intended delivery space, not just the monitor preview
Subtitle and caption formats:
- SRT for most streaming and social platforms
- TTML or DFXP for broadcast delivery
- Decide sidecar versus burned-in early, since it changes how captions get QC’d
Final Technical QC and Legal Clearance Checklist
Before anything ships, run one prioritized pass covering both technical and legal risk.
- Confirm frame rate and field order match the delivery spec exactly
- Verify resolution, color tags, and audio channel mapping are correct in the file metadata
- Check loudness and True Peak one final time on the exported master, not just the timeline
- Open and test the closed-caption file for sync and formatting errors
- Do one full watch-through for visual glitches, dropped frames, and on-screen typos
Legal and clearance checks:
- Confirm every talent release is signed and stored in a shared, permanent location
- Verify music licensing terms match the actual usage (broadcast, web, paid media)
- Check on-screen trademarks and logos for clearance
- Confirm font licenses cover the delivery use case
- Double-check credit spelling against contracts, not memory
A delivery manifest should travel with every final file: spec sheet, checksum, cue sheet, list of all versions delivered, caption files, and complete metadata.
Pro Tip: Store signed releases and licenses in the same project folder as the final masters, not in someone’s inbox. When a rights question comes up two years later, you want the answer in thirty seconds.
Why Do Loudness and True Peak Matter So Much?
LKFS/LUFS measures perceived loudness over time. True Peak measures the highest actual signal level, including inter-sample peaks a standard meter can miss. Editors need both numbers because a mix can pass an average loudness check and still clip on playback if True Peak runs hot.
Three fixes handle most loudness problems before they reach the mixer:
- Trim and normalize dialog first, since it drives the overall loudness measurement more than music or effects
- Gain-stage before the fader, not after, so nothing clips upstream of your plugins
- Run a rough master pass with a limiter set around -2 dBTP as a safety ceiling before final delivery
Use a proper loudness meter, not your ears, to confirm compliance, and always check whether the specific platform or broadcaster’s target differs from the general -24 LKFS/-23 LUFS guidance before locking the mix.
What Actually Breaks Post Workflows
The teams that hit deadlines consistently aren’t the ones with the fanciest tools. They’re the ones who start with a minimum viable workflow, three to five steps everyone actually follows, and expand it only after a retrospective shows where the friction is. Keep review in a single tool. The moment notes start living in email, texts, and a shared doc simultaneously, something gets missed.
Three mistakes show up in almost every stalled project: feedback scattered across multiple channels, missing checksums on ingest that surface as corrupted media mid-edit, and selects that never got tagged so the editor rebuilds the same search every session. The fix for each is mechanical, not cultural: one review tool, mandatory checksum verification, and tagging at ingest, not after.

The worst handoff failure I’ve seen described secondhand involved a locked cut sent to color with the wrong reference file, discovered only at final QC. A single-source-of-truth project board, where the current version is unambiguous to everyone, would have caught it in minutes instead of a day.
Where Posthive Fits Into This Checklist
Posthive is the workspace built to run every phase on this checklist without the version confusion that causes most handoff failures. Instead of chasing files across email, drives, and three different review tools, your team works from one project board that mirrors the exact sequence above.
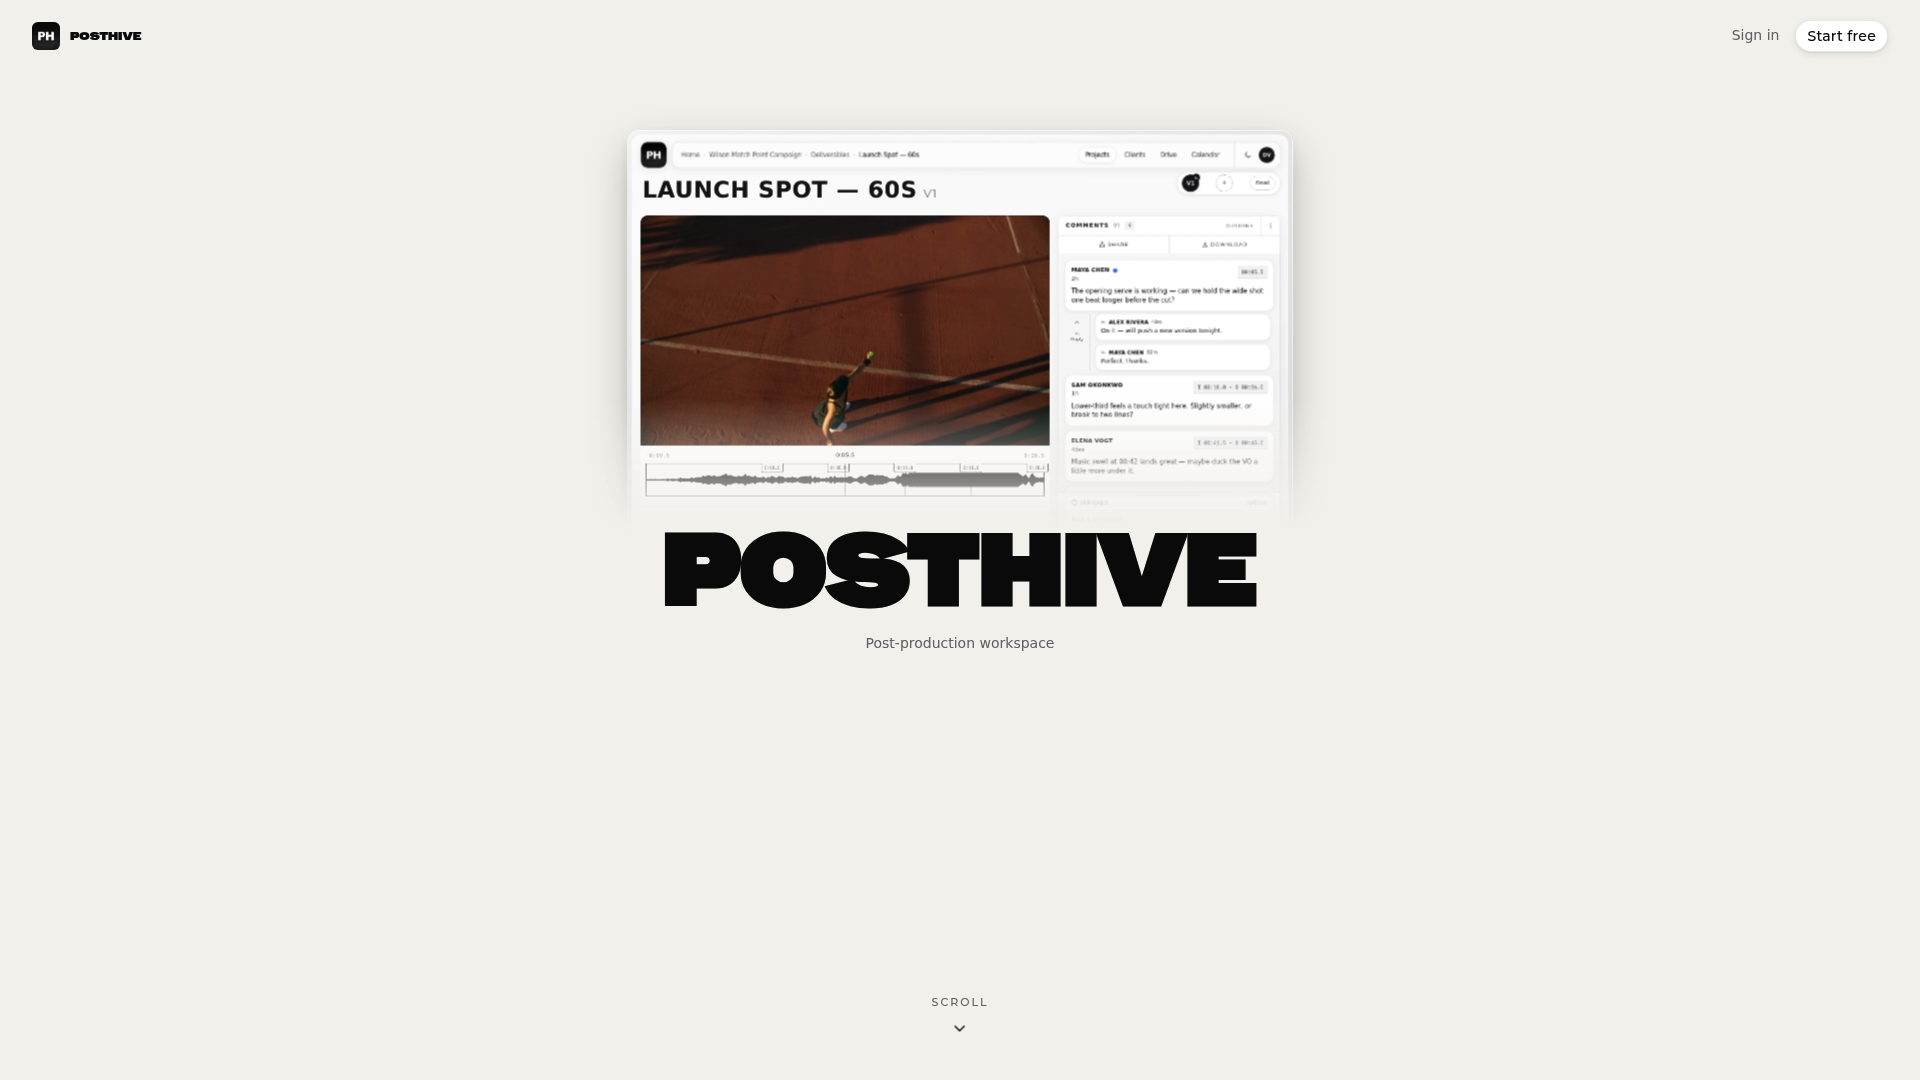
Three things map directly onto what you just read: a single-source-of-truth project board that tracks status and ownership per phase, frame-accurate review and approval so notes never scatter across channels, and secure delivery with version control that keeps your archive clean instead of buried in folders named “final_v3_FINAL.” Centralized tracking like this consistently reduces the handoff errors that ad-hoc communication creates.
If picture lock, turnovers, and client approvals are where your current process breaks down, try Posthive on your next project and see how much of this checklist runs itself.
Resources to Implement This Checklist
- Editable post production checklist template, free and phase-ordered
- Broadcast loudness reference for LKFS/LUFS and True Peak specs
- Printable editing workflow checklist for organization and fine cutting
- Pre-publish video checklist covering export and QA
- Production organization guide for phase-based planning
Sources
- Broadcast Loudness Made Simple — NUGEN Audio
- A step-by-step post-production checklist Free template | Evercast Blog
- Video Editing Workflow Checklist — ChecklistSpace
- The Complete Video Editing Checklist (2026) — Pixel8 Production
- How to Organize a Video Production From Start to Finish (2026) — Storyflow