Post-Production Workflow for Video Teams: Practical Guide
Post-Production Workflow for Video Teams: Practical Guide
A post-production workflow is the sequence of steps a video project moves through after filming stops and before it reaches an audience—ingest, organization, editing, VFX, color grading, sound, and final delivery. Each stage hands off a specific artifact to the next, and the whole system only works if that handoff is clean.
Here’s the canonical order most working post houses actually follow:
- Ingest and data management — offload camera media, verify checksums, back it up before anyone touches an edit.
- Organization and logging — bins, naming conventions, metadata, selects.
- Editing — assembly cut → rough cut → fine cut → picture lock.
- Finishing — VFX, color grading, and sound design/mixing, often running in parallel.
- Review and approvals — stakeholder sign-off at defined checkpoints, not just at the end.
- QC and delivery — technical validation, packaging, and transfer to the final destination.
This guide is written for cloud-first teams: editors, colorists, VFX artists, and producers who aren’t all in the same building, and who need a workflow that survives that distance without losing a single version of a file.
Key Takeaways
A post-production workflow succeeds when ingest discipline, picture lock timing, and a rigorous QC pass are treated as non-negotiable, while everything else flexes around them.
| Point | Details |
|---|---|
| Back up before formatting | Never format a camera card until two verified backups exist in separate locations. |
| Lock naming early | Agree on file and version naming conventions before editing starts, not after the first mix-up. |
| Treat picture lock as final | No structural changes after picture lock; it triggers color, sound, and VFX handoffs. |
| Run a dedicated QC pass | Check video, audio, captions, and metadata separately from the creative edit review. |
| Centralize with a workspace | Tools like Posthive keep version control, task tracking, and approvals in one place for distributed teams. |
Table of Contents
- What Does Post-Production Actually Include?
- What Does a Post-Production Pipeline Look Like Stage by Stage?
- How Do You Manage Data During Ingest?
- How Should You Organize Footage for Editing?
- How Do VFX and Motion Graphics Integrate Into Post?
- How Do You Prepare for Color Grading?
- How Do You Handle Sound Design and Mixing?
- What Belongs on a Final Delivery QC Checklist?
- Should Your Team Move to Cloud-Based Post-Production?
- What Should a Reusable Project Template Include?
- What Causes Most Post-Production Delays?
- How Long Does Post-Production Take, and What Drives Cost?
- How Does a Cloud Workspace Solve Common Workflow Friction?
- What Trade-Offs Actually Matter in Post-Production?
- How Posthive Fits Into a Post-Production Workflow
- Sources
What Does Post-Production Actually Include?
Post-production starts the moment principal photography wraps and ends when a validated deliverable ships to its destination, whether that’s a broadcaster, a streaming platform, or a client’s inbox. Everything between those two points, according to StudioBinder’s breakdown of the process, counts: editing, sound, visual effects, and color all live inside this window.
The confusion most teams run into isn’t about what post-production is. It’s about who owns which piece of it. Here’s a rough map of responsibility that holds up across most productions:
- Data wrangler / DIT owns ingest, checksum verification, and the first backup pass.
- Assistant editor owns folder structure, media organization, and syncing.
- Editor owns the assembly cut through fine cut, and ultimately picture lock.
- VFX supervisor owns shot pulls, comps, and version tracking for effects work.
- Colorist owns the grade, from dailies looks through the final graded master.
- Re-recording mixer owns the final mix, stems, and loudness compliance.
- Post producer owns delivery, QC, and the paper trail that proves everything shipped correctly.
The stages that trip up teams are the ones that cross roles. Naming conventions, metadata tagging, and version numbering aren’t any single person’s job. They’re everyone’s job, and if the editor names files one way while the colorist names them another, the conform stage turns into an afternoon of detective work. A few signals mark when a stage is genuinely finished rather than just “mostly done”: picture lock (the edit stops changing), VFX sign-off (client or supervisor approves the final comp), and final mix delivered (the audio meets spec and nobody’s touching it again).
What Does a Post-Production Pipeline Look Like Stage by Stage?
Picture a straight line running left to right: Ingest → Organize → Edit → Finish (VFX / Color / Sound, running in parallel) → Review → QC → Deliver. That’s the whole pipeline in one image, and it’s worth sketching out as an actual diagram on your studio wall or in your project management tool, because most delays happen when someone skips a box rather than when a box takes too long.
According to Fast, a full pipeline typically runs through ingest and backup, organization and logging, assembly and rough cut, picture lock, finishing, review cycles, and delivery, in that order, with post often consuming a substantial portion of total production time on most video projects.
Here’s what each stage hands off downstream:
- Ingest outputs verified, backed-up camera originals plus a working proxy set.
- Organization outputs a searchable, logged media library with consistent naming.
- Editing outputs a picture-locked timeline with handles preserved for finishing.
- VFX outputs comped shots at final resolution, matched to the locked timeline.
- Color outputs a graded master and any look files passed to other departments.
- Sound outputs a final mix plus stems and an M&E (music and effects) version.
- QC and delivery outputs a validated file package that matches the target spec exactly.
VFX, color, and sound frequently run at the same time once picture is locked, which is where most of the coordination problems live. A colorist grading against a temp mix and a mixer finalizing against an ungraded picture are both working half blind unless someone is actively syncing reference movies between departments.
How Do You Manage Data During Ingest?
Ingest is the single highest-leverage stage in the entire post-production workflow, because a mistake here is often unrecoverable. Footage lost at ingest is gone. Footage lost at the fine cut stage is just annoying.
The routine that actually prevents disaster:
- Never format a camera card until data exists in at least two separate locations.
- Copy camera originals to your primary drive using a tool that verifies checksums during transfer, not after.
- Run a second checksum-verified copy to a separate backup drive or location.
- Write-protect the cards physically before you touch them again.
- Only then, format and return cards to production.
- Generate proxies immediately, ideally as part of the same ingest pass, so editors can start cutting on the low-res files while high-res originals sit safely in storage.
A clean folder structure at this point saves weeks of confusion later. A simple, copyable template:
ProjectName/
  01_RAW/
  02_PROXIES/
  03_EDITORIAL/
  04_VFX/
  05_AUDIO/
  06_EXPORTS/
  07_ARCHIVE/
File naming should follow something consistent and machine-sortable, like PROJECT_SCENE_SHOT_TAKE_YYYYMMDD.ext. It looks fussy on day one and pays for itself by week three.
Proxies matter most for teams working with heavy codecs (RAW, high-bitrate H.265) or remote editors on limited bandwidth. The critical requirement: proxies must be frame-for-frame matched to the originals, so the conform stage relinks automatically instead of requiring manual frame offsets. Server-side or cloud-generated proxies tend to be more reliable for distributed teams than proxies generated locally on inconsistent hardware.
Backup strategy follows the 3-2-1 rule: three copies of your data, on two different media types, with one copy stored off-site. For archival-grade retention, that often means LTO tape for the cold copy, a NAS for active project storage, and a cloud tier for the off-site leg.
| Storage Tier | Typical Use | Access Speed |
|---|---|---|
| Local NAS/SAN | Active editing, daily access | Fastest |
| LTO tape | Long-term archive, cold storage | Slowest, sequential |
| Cloud storage | Off-site backup, remote collaboration | Variable, bandwidth-dependent |
| Cloud workspace (proxy-streamed) | Remote review and editing | Fast for proxies, dependent on connection |
Pro Tip: Before you format a single card, do a spot-check playback of three random clips from the backup copy, not the original. If the backup plays clean, you’re protected. If it doesn’t, you just caught the problem before it became a disaster.
How Should You Organize Footage for Editing?
Editing is where organization either pays off or turns into a daily headache. Inside the NLE, that means labeled bins by scene or category, color-coded markers for selects, and a consistent tagging system so anyone on the team can find a shot without asking the person who logged it.
Here’s the practical sequence most editors follow:
- Watch and mark everything first. Build a selects reel before touching a timeline.
- String out the selects in rough narrative order. This isn’t the cut, it’s the raw material for the cut.
- Assembly cut: get the full structure in place, even if pacing is rough.
- Rough cut: trim for pacing and story, still expect major changes.
- Fine cut: refine transitions, timing, and detail work. Structure is locked, polish isn’t.
- Picture lock: no more changes to timing, structure, or shot selection. This is the signal that finishing departments can start.
According to SocialRevver’s editing workflow breakdown, a repeatable, six-stage editing system paired with front-loaded organization is what separates a predictable post-production process from one that blows past every deadline.
Version naming for timelines and project files needs to be boring and consistent: ProjectName_v01_RoughCut.prproj, incrementing with each meaningful revision, never overwriting. Keep a simple version log, even a basic spreadsheet, noting what changed in each version and who approved it.
When it’s time to conform to full-resolution media, relinking only goes smoothly if your proxies were generated frame-for-frame matched from the start. A quick checklist before relinking: confirm frame rate matches, confirm timecode matches, confirm handles (extra frames before/after each cut) were preserved during the offline edit.
Pro Tip: Every timeline reopened after picture lock is a small tax on the whole finishing pipeline; a re-cut after color starts means the colorist reworks shots, the mixer’s sync breaks, and VFX has to re-pull plates. Build in one final internal review specifically to catch structural issues before you call picture lock, not after.
How Do VFX and Motion Graphics Integrate Into Post?
VFX handoffs fail for one reason more than any other: incomplete pull specs. A shot pull needs the plate itself, a reference movie showing the shot in context, and metadata covering handles, color space, and bit depth. Skip any one of those and the VFX artist is guessing.
Standard handoff formats break down like this:
- EDL, AAF, or XML carry the timeline structure, cuts, and metadata between the edit and finishing applications.
- DPX, TIFF, or JPEG2000 frame sequences carry the actual pixel data for VFX work, chosen over compressed formats to avoid generational quality loss.
- Reference movies (H.264 or similar) give VFX artists visual context without needing the full-resolution frames.
According to Edición Video Pro’s workflow tutorial, picture lock is the critical milestone that triggers handoffs to color, sound, and VFX teams, and those handoffs only run smoothly when the artifact list, reference movie, LUTs, and handles are defined ahead of time rather than negotiated shot by shot.
Version control for VFX assets works best with numbered shot IDs (SC010_SH020_v03) tied to explicit milestones: rough comp, client review, final approved. Approval gates matter here more than in almost any other stage, because a VFX shot that ships without sign-off is expensive to redo once it’s cut into a locked timeline.
Coordinating with outside VFX vendors adds another layer of risk: two teams working from two different “current” versions of a shot. A single source of truth, whether that’s a shared cloud workspace or a strict version-numbering discipline enforced by the post producer, is what keeps a distributed VFX pipeline from fracturing into conflicting file versions.
How Do You Prepare for Color Grading?
Color grading turns a technically correct image into an intentional one, and the prep work determines how much creative range the colorist actually has. Before a grading session starts, the colorist needs reference frames showing the intended look, any CDL or LUT files exchanged during production or the edit, and confirmation that the timeline’s handles and metadata match what was locked in the edit.
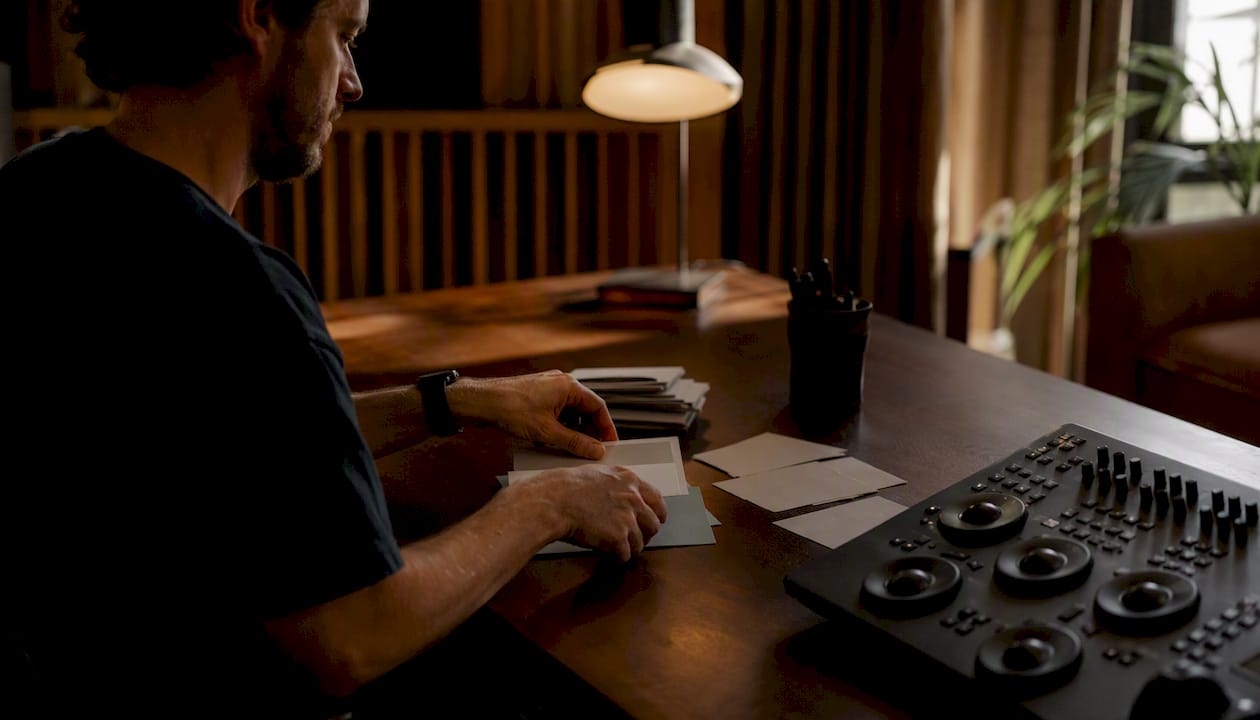
The choice between ACES and Rec.709 comes down to project complexity. ACES (Academy Color Encoding System) makes sense for projects mixing multiple camera formats or requiring a wide dynamic range pipeline through VFX and back. Rec.709 is often sufficient for simpler, single-camera productions delivering straight to standard broadcast or web specs. A viewing LUT applied during the edit gives editors and clients a rough sense of the intended look without committing to final color decisions too early.
Color choices carry real narrative weight. Slashfilm’s analysis of the pervasive blue tone in a popular Ozark shows how a deliberate grading decision becomes part of a show’s identity rather than an afterthought, which is exactly why reference frames and creative intent need to travel with the footage into the grading suite, not get reinvented from scratch.
Deliverables from color typically include the graded master, a textless version (for international versioning or credits replacement), and any lookup tables passed along to VFX or DI for consistency.
Pro Tip: Run a simple calibration check on your grading monitor before every session, even a quick one. Scene-to-scene consistency falls apart fastest when a colorist is unknowingly grading against a monitor that’s drifted out of calibration from the day before.
How Do You Handle Sound Design and Mixing?
Audio finishing starts with dialogue editing: cleaning up noise, smoothing cuts, and spotting for ADR (automated dialogue replacement) where production audio won’t cut it. Consistent track naming from this point forward saves the mixer real time, since a mix session with fifty unlabeled tracks is a mix session that takes twice as long.
Stem strategy matters for anything that might get repurposed or localized later:
- DX (dialogue), FX (effects), and MX (music) stems, split cleanly so any element can be adjusted independently later.
- M&E (music and effects, no dialogue) for international distribution, where local dialogue gets dropped in separately.
- Consistent channel order across every deliverable, so a mixer or platform ingesting the file knows exactly what’s on which channel without guessing.
Loudness compliance is where audio deliverables most often get rejected. Streaming platforms and broadcasters typically specify loudness targets in LUFS (Loudness Units Full Scale) along with a true peak ceiling, and a mix that doesn’t meet that target gets bounced back regardless of how good it sounds. Folding a loudness check into your QC pass, rather than trusting it was handled correctly during the mix, catches this before delivery instead of after rejection.
Final audio deliverables generally include the full mix, individual stems, the M&E version, and a cue sheet documenting music usage for licensing and royalty purposes.
What Belongs on a Final Delivery QC Checklist?
QC is the gate that catches everything that slipped through earlier stages, and it’s the one stage where cutting corners has the highest cost relative to the time it takes to do properly. A dedicated QC pass checking audio levels, frame rates, and export specs against the delivery spec sheet prevents the kind of failure that shows up only after a platform rejects the file.
A working QC checklist covers four categories:
- Video: correct frame rate, correct resolution, proper color space tags, no dropped frames.
- Audio: correct channel count, loudness within target, no clipping or sync drift.
- Captions and subtitles: correct format, accurate timing, spelling matched against a script.
- Metadata and file integrity: correct filename per delivery spec, checksum verification, correct container and codec.
Small oversights that slip through QC have a way of becoming very public problems. Variety’s coverage of a stray coffee cup left in frame on a major HBO series is a reminder that a rigorous final check isn’t a bureaucratic formality. It’s the difference between a clean delivery and a headline.
Codec and container choices depend on destination. A few common patterns:
| Deliverable Type | Typical Codec/Container | Common Use |
|---|---|---|
| Master file | ProRes or DNxHR HQX | Archival, source for all other exports |
| Streaming delivery | H.264 or H.265 | Platform-specific streaming specs |
| Broadcast delivery | XDCAM or MXF-wrapped formats | Traditional broadcast ingest |
| Proxy/review copy | H.264 | Internal review, remote collaboration |
Packaging should include consistent file naming matching the client’s delivery spec, a metadata manifest listing every file and its purpose, and paperwork like cue sheets or delivery memos where required. According to SwarmStack’s guide to production paperwork and proposals, clear documentation around delivery specs and QC expectations reduces disputes and rework once a project changes hands to the client or platform.
Pro Tip: Automate what you can, checksum verification, loudness measurement, frame rate detection, and reserve human eyes and ears for the things software can’t judge: does the color match the reference, does the mix feel right, does the story land. A dedicated QC pass, done by someone who wasn’t in the edit bay all week, catches things the exhausted editor’s eye slides right past.
Should Your Team Move to Cloud-Based Post-Production?
Cloud-first workflows solve a specific problem: getting large media files between people who aren’t in the same room without losing track of which version is current. According to LucidLink’s guide to modern post-production workflows, cloud storage and streaming access help distributed teams stay in sync and avoid the delays that come from physically moving large files between locations.
Three broad approaches exist, and they solve different problems:
| Workflow Type | Strength | Trade-off |
|---|---|---|
| Cloud file systems (streaming) | Editors work directly on cloud-hosted media, minimal local storage needed | Performance depends heavily on connection quality |
| Cloud transfer-and-store | Simple, familiar, good for archival and one-way delivery | Not built for active collaborative editing |
| Purpose-built post workspaces | Combines project tracking, review, and version control in one place | Requires the whole team to adopt one system |
Collaborative review works best with timecoded comments tied directly to a frame, not a vague note in an email thread. A single source of truth for the current version prevents the classic problem of a client approving “the cut from Tuesday” while the editor has already moved on to Wednesday’s revision. Access controls matter just as much: not every stakeholder needs write access to source media, and permissioning by role keeps accidental overwrites from happening.
Security deserves real attention here, especially for unreleased content. Encrypted delivery, permissioned access by role, and an audit trail showing who approved what and when aren’t optional extras for high-value projects. They’re the paper trail that protects everyone if a dispute over approvals comes up later.
Pro Tip: If your team is spread across time zones, server-side proxy generation is worth setting up even if it feels like overkill at first. It means an editor in one city and a colorist in another are always working from identically matched, frame-accurate proxies, instead of each generating their own and quietly drifting out of sync.
What Should a Reusable Project Template Include?
A folder structure and checklist you can paste into a new project on day one removes a surprising amount of first-week friction. Here’s a template worth adapting:
ProjectName/
  01_RAW/
  02_PROXIES/
  03_EDITORIAL/
    Bins/
    Exports/
  04_VFX/
    Pulls/
    Comps/
  05_AUDIO/
    Stems/
    Mix/
  06_EXPORTS/
    Review/
    Final/
  07_ARCHIVE/
Day-one ingest checklist:
- Verify checksums on every camera card before copying.
- Create two backup copies before formatting any card.
- Generate proxies immediately after backup completes.
- Log basic metadata (scene, shot, take, camera) during the same pass.
- Confirm both backups play back cleanly before touching originals again.
A shared versioning table keeps naming consistent across the whole team instead of every department inventing its own scheme:
| Asset Type | Naming Pattern | Example |
|---|---|---|
| Timeline export | ProjectName_v##_Stage | Documentary_v04_FineCut |
| VFX shot | SC###_SH###_v## | SC010_SH020_v03 |
| Audio mix | ProjectName_Mix_v##_Format | Documentary_Mix_v02_Stereo |
| Final delivery | ProjectName_Final_YYYYMMDD | Documentary_Final |
According to Evercast’s step-by-step checklist, a task-level checklist covering ingest, organization, sync, proxy creation, VFX sign-offs, QC, and archiving is what reduces missed steps across a full production, especially on projects big enough that no single person is tracking every stage in their head.
What Causes Most Post-Production Delays?
The same five bottlenecks show up on nearly every delayed project: disorganized ingest that forces someone to reconstruct file relationships days later, proxy generation that lags behind and blocks editors from starting, unclear sign-off authority that leaves a cut in limbo, slow review cycles where feedback takes a week to come back, and VFX handoffs missing the specs needed to start work immediately.
Eight fixes that actually move the needle:
- Front-load organization. Spend the extra hour on naming and folder structure at ingest. It’s cheaper than reconstructing it later.
- Automate proxy generation. Set it up as part of ingest, not a separate task someone remembers to do later.
- Schedule QC as a fixed calendar event, not something that happens “whenever there’s time.”
- Build handoff templates for VFX, color, and audio so nobody negotiates the artifact list shot by shot.
- Parallelize VFX work wherever the timeline allows, rather than waiting for a fully locked cut on every single shot.
- Standardize version naming across the entire team before the project starts, not after the first mix-up.
- Automate checksum verification at every transfer point, not just at initial ingest.
- Set scheduled review windows instead of open-ended feedback periods that drift for a week.
Pro Tip: Measure cycle time between stages, not just total project time. A simple SLA (service level agreement) per stage, like “VFX turnaround within five business days of pull,” gives you an early warning when a specific stage is the bottleneck instead of discovering it only when the whole delivery slips.
How Long Does Post-Production Take, and What Drives Cost?
Timelines vary enormously by format, but rough buckets help with scoping. Short-form social content often moves through post in a few days to a week. A 30 to 60 second commercial typically runs several weeks once revisions and client review cycles are factored in. Long-form documentaries can take months, sometimes over a year, largely because of extended review cycles and the volume of footage requiring organization before editing even starts.
The main cost drivers, in rough order of impact:
- Footage volume. More raw material means more logging, more organization time, more storage.
- Number of revision rounds. Each client review cycle adds editor time and often pushes finishing schedules.
- VFX complexity. Heavy comp work and multiple approval gates extend both time and vendor cost.
- Number of deliverable formats. Delivering to five platforms with five different specs multiplies the QC and export workload.
- Turnaround time. Compressed schedules often mean paying for overtime, rush VFX, or additional colorist hours.
When building client agreements, pad your buffer around revision rounds specifically, since that’s the variable most likely to run over. A fixed number of included revisions, clearly stated upfront, does more to protect a realistic deadline than padding the editing stage itself.
How Does a Cloud Workspace Solve Common Workflow Friction?
Picture a five-person team spread across three cities: an editor in one location, a colorist in another, a VFX artist working remotely, and a producer coordinating client approvals from a third city entirely. Without a shared system, that team is emailing file links, tracking versions in a spreadsheet, and hoping everyone caught the latest approval note in a group chat somewhere.
A centralized workspace changes the mechanics of that coordination. Version control means nobody’s guessing which cut is current. A single source of truth for assets and approvals means the colorist isn’t grading against a temp mix from three revisions ago. Streamed or synced proxies mean a client can review a cut and leave timestamped feedback without downloading a multi-gigabyte file first.
Here’s a rough feature-to-problem map:
- Version control → prevents the “which file is current” confusion that eats an afternoon on nearly every project.
- Single source of truth for approvals → speeds up handoffs because nobody’s chasing down a sign-off buried in an email thread.
- Streamed proxies for remote review → cuts the lag between “cut is ready” and “client has actually seen it.”
- Task and deadline tracking → keeps stage ownership visible instead of implicit.
Before adopting a cloud workspace, it’s worth running through a short evaluation: does your team span multiple locations or time zones, does your review cycle currently rely on email or messaging apps to track approvals, and does your project volume justify a dedicated system rather than ad hoc file sharing? Teams answering yes to most of these tend to see the fastest return. This is exactly the gap Posthive is built to close, giving teams a single workspace for project tracking, version control, and review without stitching together five separate tools.
Pro Tip: Run a single small project through a centralized workspace before committing your whole slate to it. The friction points show up fast, usually within the first review cycle, and that’s the cheapest possible way to find out if the system fits your team’s actual working style.
What Trade-Offs Actually Matter in Post-Production?
Every post-production schedule is a negotiation between cost, speed, and quality, and the mistake most teams make is treating all three as equally flexible. They aren’t. Speed is usually the most compressible variable, cost the least, and quality sits somewhere in between depending on where in the pipeline you’re cutting corners.
The teams that consistently hit deadlines without burning out their crew invest disproportionately early: in ingest discipline, in proxy strategy, in getting to picture lock cleanly. That front-loaded investment is what buys flexibility later. A team that skimps on ingest to save two hours on day one often loses two days reconstructing footage relationships during the fine cut.
A simple prioritization checklist for what to lock first versus what to defer:
Lock first: ingest and backup discipline, proxy generation, naming conventions, picture lock timing.
Defer until after lock: color polish tweaks, minor sound design flourishes, secondary deliverable formats.
The conventional wisdom says quality should never be compromised, but that framing misses the real issue. Quality isn’t compromised by moving fast on the logistical stages. It’s compromised by rushing the creative stages, editing, color, sound, to protect a deadline that slipped because ingest was sloppy. Protect the boring, mechanical parts of the pipeline aggressively, and the creative stages get the time they actually need.
How Posthive Fits Into a Post-Production Workflow
If your team is losing hours to scattered file links, unclear version history, or approval notes buried in three different messaging apps, that’s not a discipline problem. It’s a tooling gap. Posthive gives creative teams, production companies, and freelancers one place to track project status, manage versions, and collect client feedback without the guesswork of “which cut are we actually reviewing.”
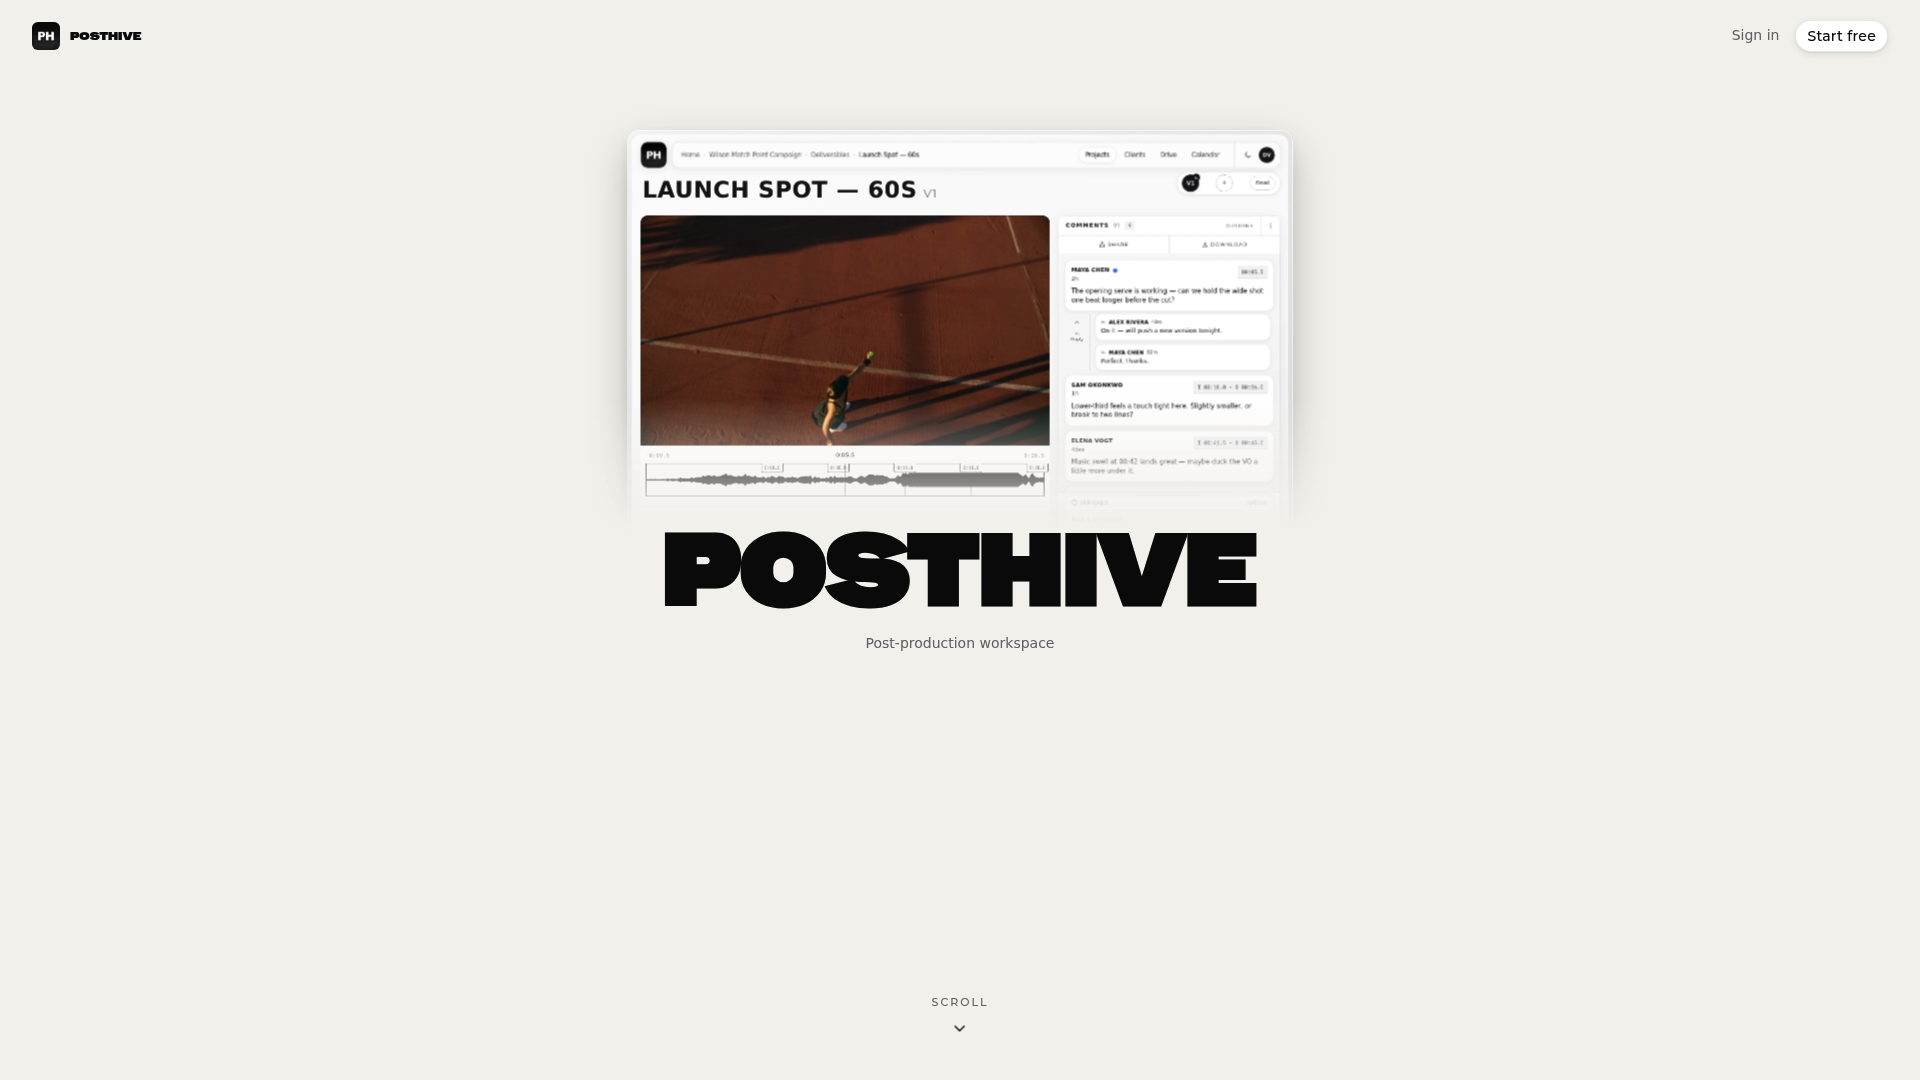
Teams that get the most out of it tend to be small to mid-sized crews juggling multiple concurrent projects, agencies coordinating freelance editors and colorists across locations, and production companies that need clients to review and approve cuts without a phone call every time. Posthive’s version management keeps a clear history of every export, its task tracking makes stage ownership visible instead of implicit, and its cloud connectivity means a remote colorist or VFX artist is always working from the current file, not a stale copy from three days ago.
Posthive offers free, Pro, and Enterprise tiers, so a solo freelancer and a full production house can both find a plan that matches their storage and feature needs. If your last project involved someone asking “wait, is this the final version?” more than once, start a Posthive trial and see how much of that disappears in the first week.
Sources
- Post-Production Workflow Guide for Video Te | Fastio
- Video Post-Production Workflow: From Ingest to Final Delivery | Edición Video Pro
- What is Post-Production — The Final Steps in the Process
- Video Editing Workflow: Step-by-Step Post-Production System — SocialRevver Blog